Showing posts with label Cabin Accessories. Show all posts

Monday, January 09, 2023

AC/DC Portable Electric Cooler
Wayne and I are on a short winter trip to the cabin. It's quite cool, but we are staying warm thanks to our trusty woodstove

Normally, we use our propane refrigerator for fresh food, but because this is a short trip we are using ice chests.

To maximize space we are using a variety of containers. For ice cubes and drinks we are using insulated coolers with blue freezer packs. For fruits and vegetables, a plastic tub. These remain outdoors where it's cool.

Indoors for dairy, meats, cheese and condiments we are using our new knox gear (k-box) electric cooler (it also has a warmer feature that we don't need right now).


It's well insulated on all sides and the lid. The cooling unit on top runs with either a 110V AC cord or 12V DC cord and power adapter plug. 

For ease of use, we have ours connected directly to the cabin's battery bank.

It could also be used with a vehicle power port. 

The inside fan distributes cold air throughout the interior. 

It works best with pre-cooled groceries. For extra cooling, I froze large water bottles and two blue freezer packs.

One of two large water bottles I froze in town to augment cooling.

During our six day cabin trip, all of our foods stayed cool and fresh. I even had ice cubes left on the front porch for my last evening cocktail. 

The 48-quart model has plenty of room. They also have a smaller version.

I would say this has been a successful test of our short-term winter refrigeration needs. What kinds of strategies do you use on camping or off-the-grid trips? -- Margy


Shared with Your the Star at Stone Cottage Adventures. And Tuesdays with a Twist at Stone Cottage Adventures.

Hop on over to the Simple Life Mom and see some great ideas for homesteading and simple living.

And Sunday Sunshine Blog Hop at Ridge Haven Homestead.

Wednesday, September 15, 2021

Rock Painting for Cabin Decorations

Kobe in 2021.

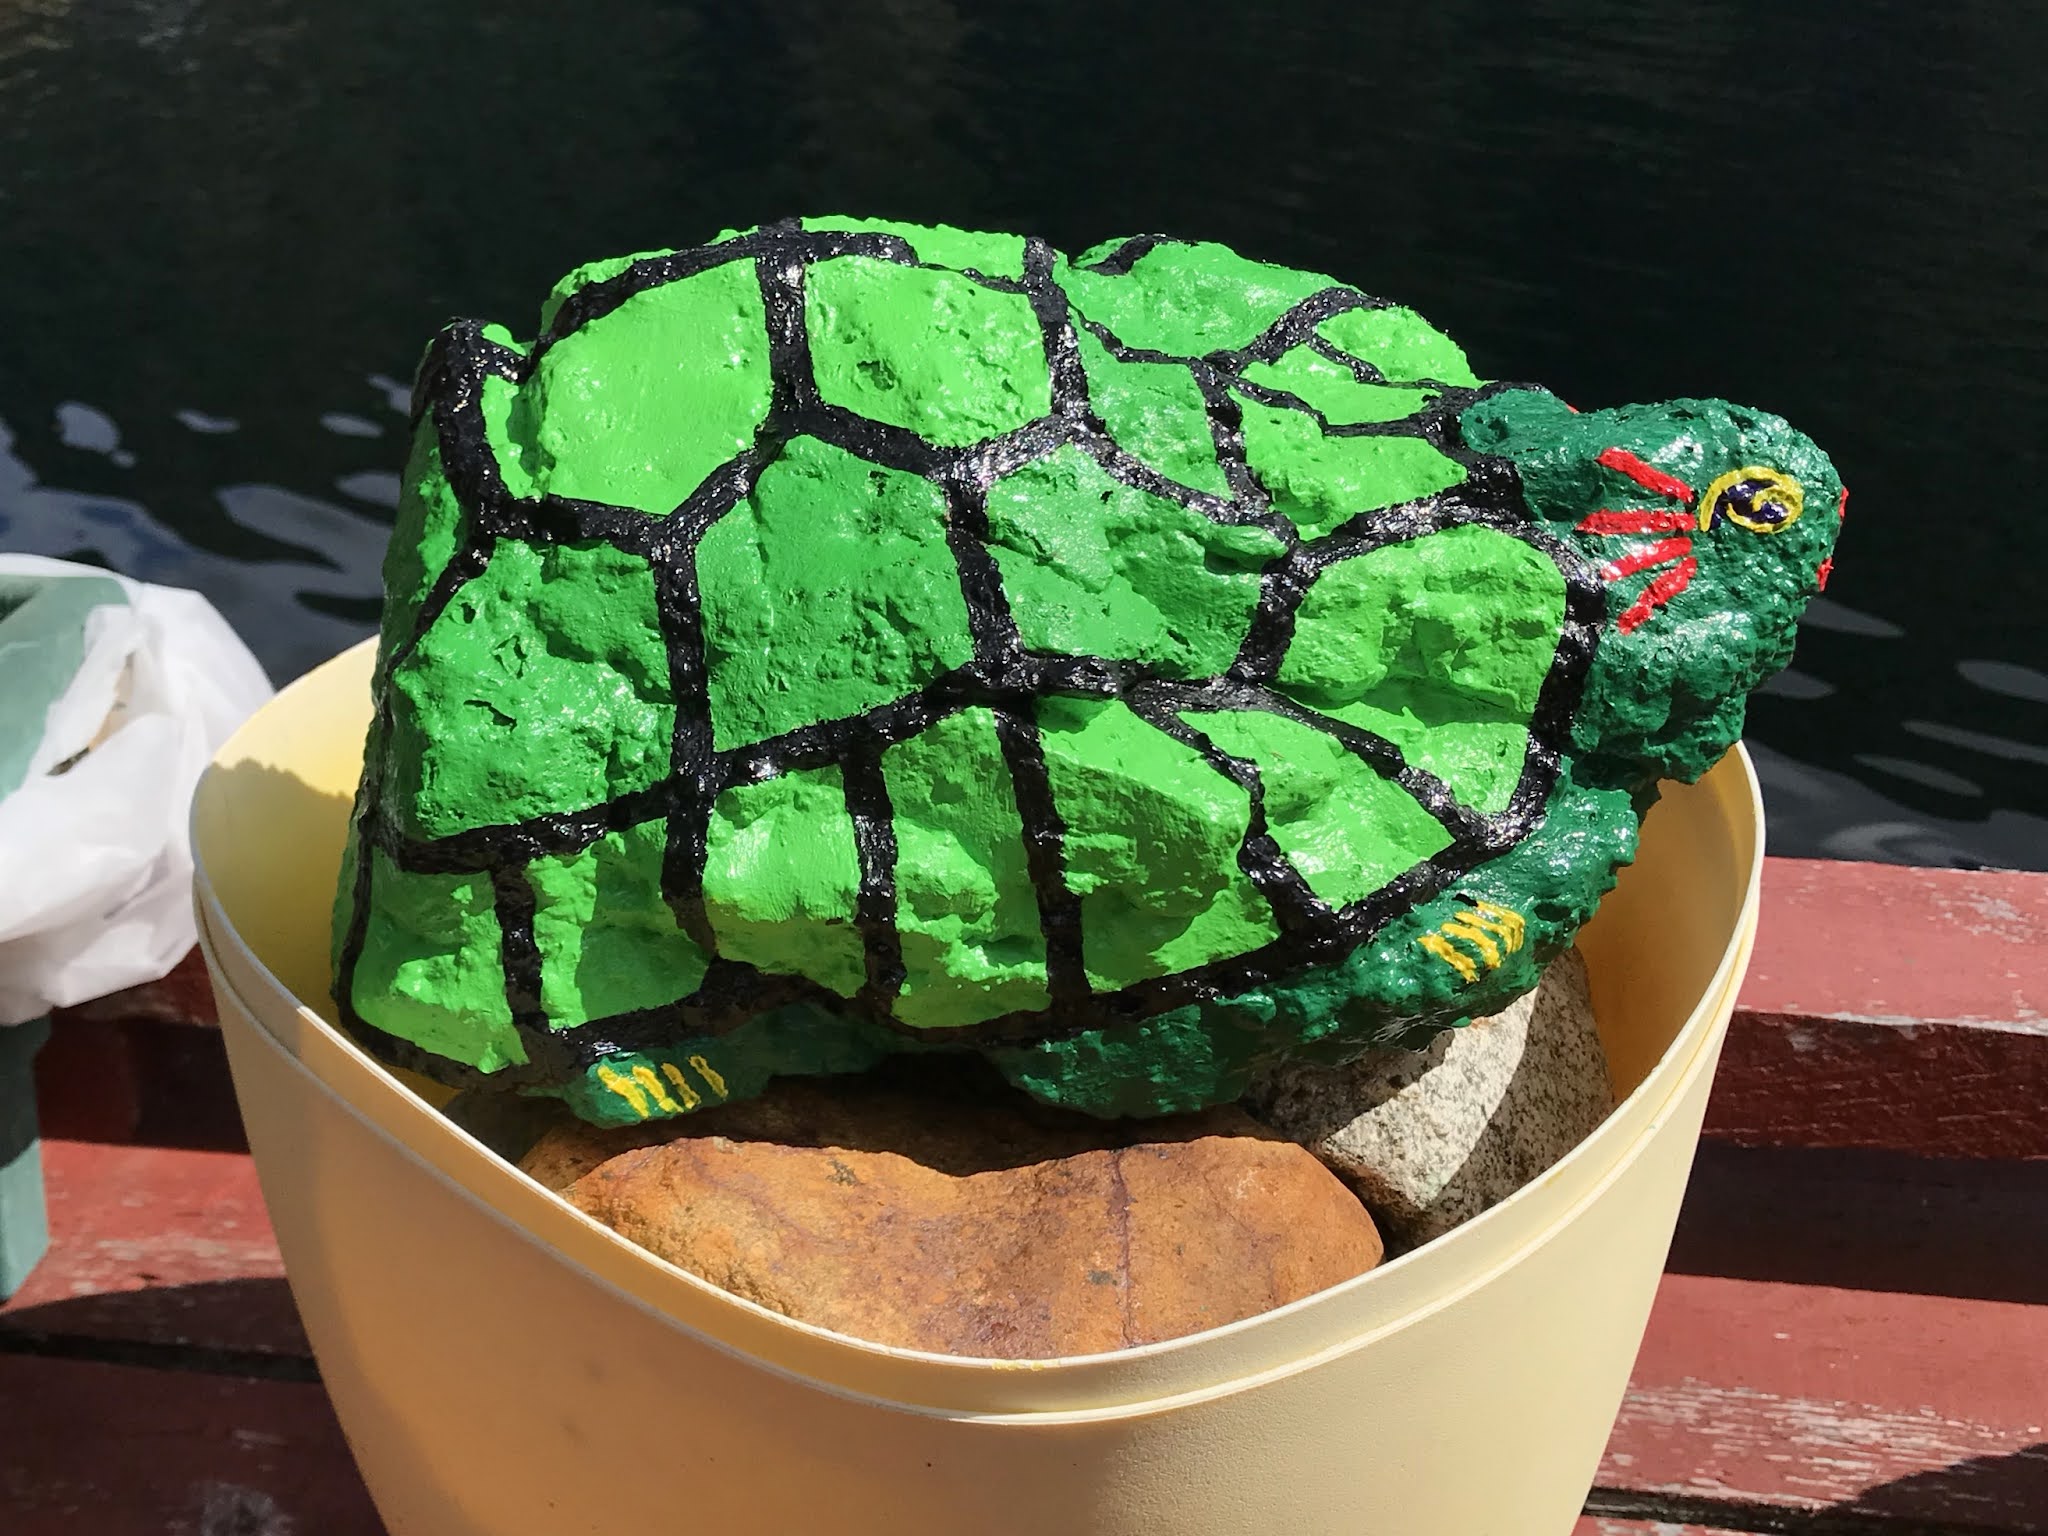
Over the years I've painted several large rocks. When fall arrives and flowers depart, they brighten our lower deck.

Sometimes a rock tells me what it wants to become. The first one told me it wanted to be a turtle. Rocks sometimes tell different people different stories. Wayne saw Kobe Bryant's basketball shoe so I named it Kobe after the Los Angeles Lakers star. Kobe needed a repaint in 2016 and again this year.

The original rock that became Kobe the Turtle.

For my second project, I searched for a ladybug shaped rock. It was smoothed by Powell Lake's waves and easier to paint. It was so heavy I had a hard time carrying it from the Shinglemill beach to our boat. 

This summer I painted a rock I call Frogger after an old-time computer game. I selected the rock on a barge camping trip to Goat Lake. It looked perfect, but after painting I don't think it was best shape.

Frogger on the corner of the front deck.

Frogger has taken up residence on the other side of our front deck. Her weight will help hold the corner down when wind and boat waves wash through our front "yard."

I had lots of fun painting this summer. Do you paint rocks? Are they large or small? Tell us your stories. -- Margy

Friday, May 25, 2018

Float Cabin Living: How do you get power? Solar

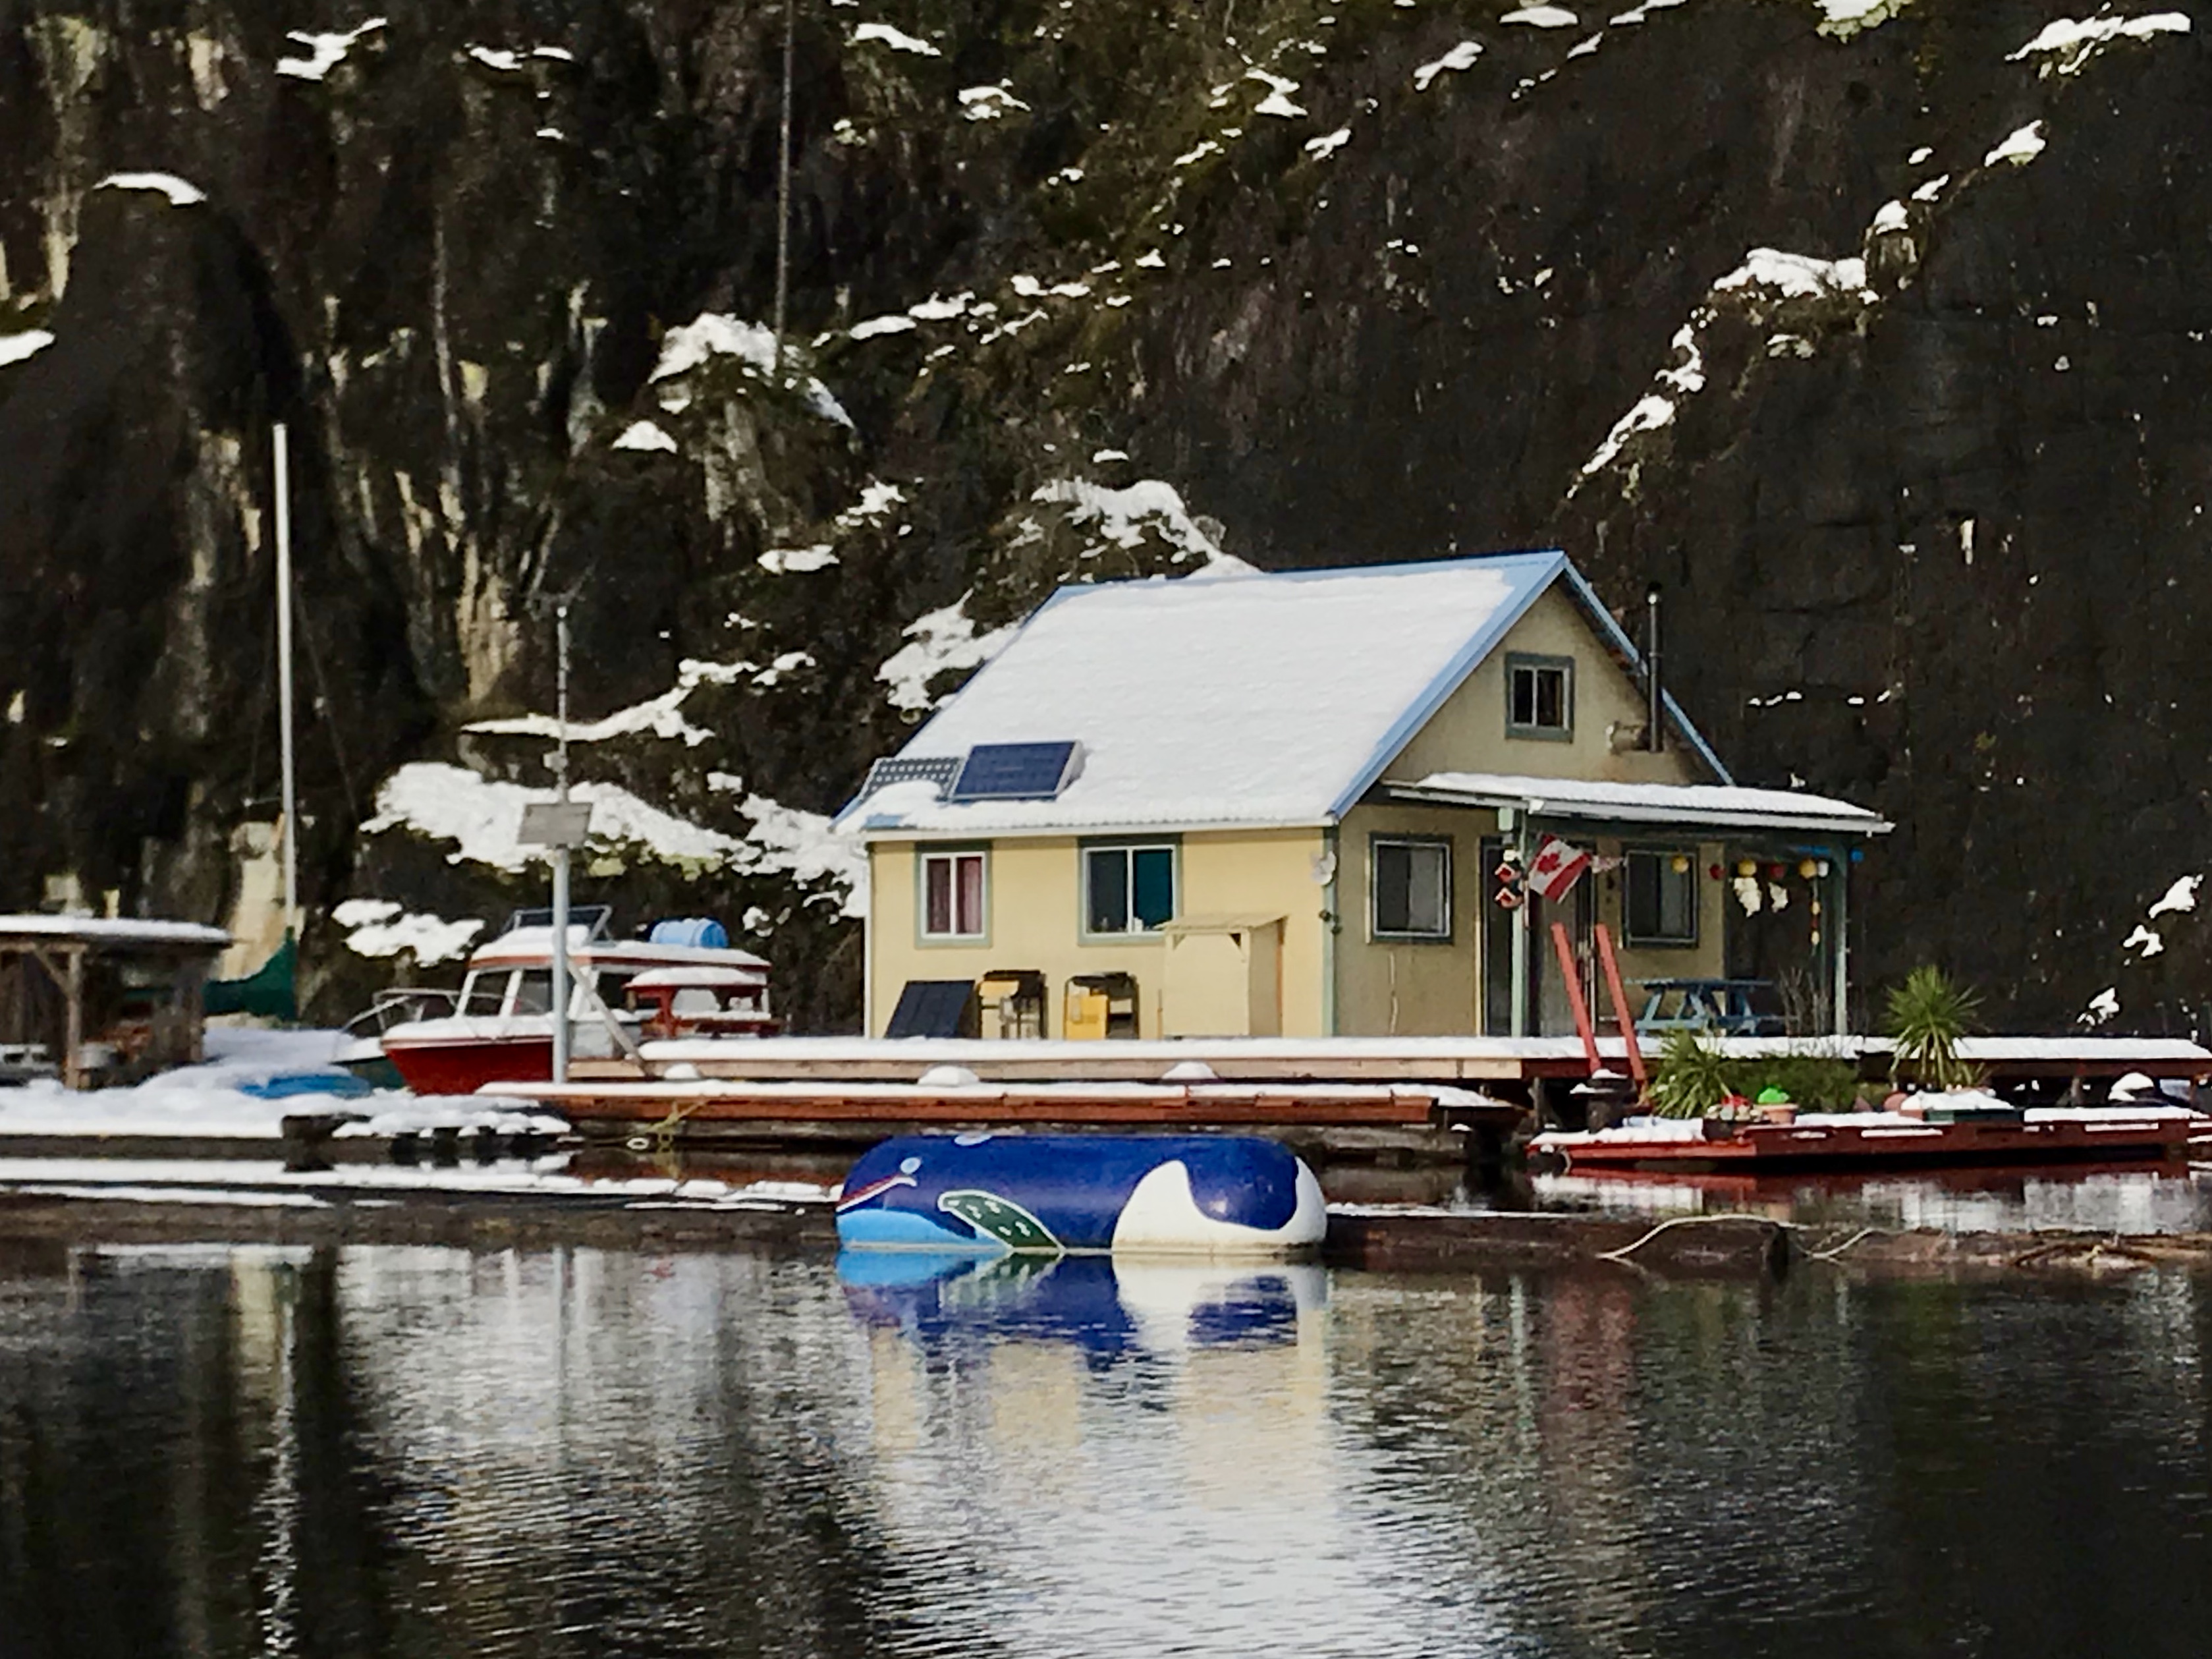
Our solar power generation has separate systems for specific functions.

Solar panels on our roof facing south.

That way our power needs don't have to rely on one source. When we first got our cabin we started small and have grown our systems over time. We've also learned a lot about how electricity works.

Cabin battery bank in its storage box.
Our main cabin system has two solar panels. Our oldest one is 125 watts and the newer one is 200 watts. They feed into our electrical panel at the back of the cabin to charge 6-volt batteries wired in serial pairs to produce 12 volts to run our cabin systems.


The Gemini with her solar panel on top.
Later we added a separate solar system on Wayne's writer's retreat (boat). The 300-watt panel charges eight 6-volt batteries. This system provides power in the boat and to the cabin via a battery switch in the main electrical panel.

Through our electrical panel at the back of the cabin we can choose to use either our boat or cabin power source. During the day we use Gemini's power and leave the cabin's system charging. Our daytime electric needs are minimal, so the Gemini can charge and supply our simple daily needs at the same time. After dark, we change to the cabin source. That way we never deplete the batteries at either source.


We have other solar solutions for specific purposes. The first is on my garden float. A 15-watt panel charges a 12 volt battery that's runs a switch controlled boat bilge pump powering a hose to keep my garden moist in summer.


Another solution uses a 60-watt set of panels. It came as a package complete with three 20 watt panels, frame, connectors, charge controller, and inverter. It provides continuous power for the fan in our compost toilet.

Installing a new panel on the woodshed roof.
Our newest solution is a 40-watt panel to keep the battery charged in Wayne's sailboat. During winter the battery runs low. No battery, no bilge pump. No bilge pump, you get the picture. Even with low angles and direct sun the panel keeps the battery going when we are away.

Our separate systems work well for us, especially in the winter when power generation is limited.

The float cabin with it's solar panels on the south side.

Here are some additional posts about solar power:

Starting to Use Solar Power
Volts, Amps and Watts
Solar Charged Battery Packs
Sunrise, Sunset
Watering with Sunshine
Solar Powered Xmas Lights

What are some of your solar uses and solutions? -- Margy

Monday, August 07, 2017

How to Make a Twirling Bottle Bird Feeder

A little over a year ago I saved directions about how to make a twirling bottle bird feeder from one of my favourite blogs, Wanderin' Weeta (With Waterfowl and Weeds).

The twirling design was to make it squirrel proof. My problem isn't squirrels, but a Steller's Jay that is making a mess with my bird feeders. He's too big and knocks the seeds into the lake.

Here are the directions from Wanderin' Weeta's site, slightly modified:

Materials:

  • Empty plastic pop bottle with screw-top lid
  • Clean thin twig about 8 inches long
  • Sturdy twine
  • A washer or nut
  • Duct tape
Tools:
  • Sharp knife
  • Hammer 
  • Small nail, large nail and a straight pen
Directions:
  • Choose a clean plastic pop bottle.
  • Remove the label.
  • Push a small nail through the plastic about an inch and a half up from the bottom. Use a large nail then a straight pen to make the hole fit the stick.
  • Make another hole on the opposite side of the bottle.
  • Use a nail and hammer to make a hole in the center of the lid.
  • Use a sharp knife to cut two inch horizontal slits about 1/2 inch above each hole. 
  • I used duct tape to cover the sharp lower slit edges.
  • Squeeze just above the slits to make U-shaped openings for birds to reach the seeds. 
  • Thread twine through the slits. Tie one end firmly around the top of the bottle just below the lid. Pull on the other end until the twine holds the two U-shaped sections permanently open. Tie firmly around the neck of the bottle. 
  • Force the twig (I used a length of bamboo plant stake) through the bottle. It should fit snugly. This will make the perches.
  • Thread another length of twine, about 3 feet long, through the lid. Tie the inside end around the washer or nut. Pull the washer tight inside the lid and tie a knot on the outside. 
Finishing Touches:
  • Fill your bottle with bird seed. 
  • Screw on the cap.
  • Hang the bird feeder from a tree or post. To keep squirrels off, hang it at least a foot away from any branch. 
I hung my new twirling bird feeder on the bridge railing.


Did it solve my Steller's Jay problem? Well, not completely. But with smaller holes in the feeder, the Oregon Juncos at least have a fighting chance to get something to eat before it all gets flicked out.


Thanks Wanderin' Weeta for giving me this great idea. And for my readers, I highly recommend visiting her website. She's a nature expert, superb photographer and takes us along to explore Vancouver Island's many trails and back roads. -- Margy

Saturday, January 21, 2017

Preserving: Fresh Saver 1-2-3

Fresh Saver with zipper vacuum bags.
When leave our off the grid float cabin for an extended period, I hate to waste food. We leave our propane refrigerator running, but it doesn't keep foods fresh as long as an electric model.

One item that doesn't last well for me is cheese. After listening to my tales, our good friend Jeanne gave me a Food Saver Fresh Saver for Christmas. It's perfect for off the grid with limited electrical power.

My model is electric, but because it has a rechargeable battery inside it can also be used cordless. Even if it runs directly on electricity, the time and power draw is minimal.

Line up the nozzle with the circle on the bag and press the button.

The system works with reuseable Fresh Saver zippered plastic bags in various sizes. They are pricey, but because they are reusable the cost balances out.

Before leaving the cabin, I packaged leftover cheese in one of the Fresh Saver plastic bags, zipped it shut, and used the handheld vacuum to remove the air to seal in freshness. Getting the device lined up was difficult at first, but once I got it going, out came the air.

Continue vacuuming until the bag collapses around the food.

When I get back to the cabin, I'm rewarded with cheese ready to eat. The savings more than pays for the $25 initial cost of the device (if you have to buy one for yourself) and $12 package of bags. -- Margy

Tuesday, December 06, 2016

Mr. Heater Big Buddy Propane Heater

Our Hewescraft docked beside our float cabin.
It may not be officially winter yet, but traveling in our 22-foot Hewescraft Ocean Pro up and down the lake can get pretty chilly.

We chose not to pay extra to have a heater installed when we purchased the boat. With an outboard motor it would have been quite expensive for a separate heading system.


Instead we use a portable Mr. Heater Big Buddy propane heater.  It comes in several versions based on state and country regulations. Of course, we have the Canadian model. We secure it with straps at the front of the boat for convenience and safety.


The heater can run on one or two small one pound propane canisters that are installed internally. The heater can also run on more economical 20-pound propane tanks. Safety features include an oxygen depletion sensor and tip-over shut-off features. It will heat up to 450 square feet, but also keeps our boat toasty warm for those winter runs. -- Margy

Saturday, August 27, 2016

Something from Nothing - The Big Bobber

One thing we try to do at the cabin is use and reuse items to their fullest potential. Here's a recent example of making something from nothing. On a recent boat trip, our good friend John found an old black rubber float washed up on the beach. Upon inspection, the crustacean and algae encrusted discard was still watertight and able to float. John brought it home to us and Wayne transformed it into what we call "The Big Bobber."

A little elbow grease and paint, and now it looks like a huge red and white fishing bobber. We've given it a place of importance at the end of our entrance boom. Now passing boaters can see our breakwater logs (for safety reasons) and we can easily find our front "gate."

Do you reuse or repurpose old items? I invite you to share some of your stories. -- Margy

Saturday, April 23, 2016

Modifying a Commercial Bird Feeder

Hurry up, I'm hungry!
I bought a seed bird feeder to use up at the cabin. The first bird to come to visit was an overwintering Song Sparrow. In fact, so far she's been the only visitor.

I found a plastic plate at the Dollar Store that was the perfect size to fit under the commercial bird feeder.

I got a little help from Wayne for this part of my project.

I turned the plate upside down so the edge turned upwards, giving birds a more substantial perch while eating their seeds.


Wayne used his battery powered drill (perfect for an off the grid cabin) to extend the drain holes from the metal ring through the plastic plate.

Three of these extended drain holes allowed us to insert screws to hold the two pieces together.

Drain holes were important to keep the seeds from getting waterlogged during rain storms.

He also drilled drain holes to make sure the outer plastic ring wouldn't fill up with water.

The completed modification to a commercial bird feeder.

Our Song Sparrow took a few moments to check out the new look.

Look closely on the bridge support, there our Sparrow taking a look.

When everything looked safe and secure ...


She returned to get lunch. But I noticed, she used the inner metal ring to stand on. Maybe the modification was more for my than her liking. -- Margy

Saturday, March 05, 2016

Bushnell Trophy Cam HD

Bushnell Trophy Cam HD
We wanted a critter cam for the cabin, so after a fiasco online we went to see George at Marine Traders in Powell River. He went through the products he had in stock, and also catalogues for other options. I appreciated the personal service, and I know they will help if there’s ever a problem. That’s something you don’t get online.

Here what sold me on the Bushnell Trophy Cam HD. It’s rugged and waterproof, picture quality is up to 8MP (I want to photograph birds), it accepts a 32GB SD card for 15,000 photos or 18 hours of video, and best of all, it has a USB connection to download photos straight into a computer. 

It can be tripod or strap mounted.

Here are some of the other features that I found to be helpful:
Fast 0.6-second trigger speed
“Stealth” flash at night with black LEDs
Colour day and black and white infrared night photos
Night infrared range of 45’ (14m)
Socket for tripod use (or tree strap)
2.4” full colour view screen
Long life using 12 AA alkaline or lithium batteries
Easy setup with an understandable manual

We don’t get large game around the cabin, but in a test shot in low light I did discover a bear-like animal rooting around a laptop, and a woodrat-like critter rummaging through the refrigerator. I can hardly wait for my first “real” trophy photo. -- Margy

Wednesday, October 07, 2015

Off the Grid Propane Refrigerator Repairs

Subtitle:
The Never-ending Story Part I

In 2011, we remodeled our kitchen at the float cabin and added new propane appliances. We chose a Unique 11 cubic foot refrigerator to replace our old 8 cubic foot RV style Dometic. The Unique was flawless until last March when the temperature started fluctuating wildly. As long as we were home, Wayne could chase it with the temperature control knob. But if we left for more than a day, we never knew what to expect.

We came home from a trip to the States to find the fridge off, mildew growing, and food spoiled. Not much, but all those condiments cost a lot to replace. We called our good friend John to come have a look. He’s installed all of our propane devices.

To get ready, we pulled the rug up and moved the fridge into the middle of the kitchen floor. Then off came the burner’s safety cover, and we spent hours, days, even months monitoring the strength of the flame as we moved the temp knob up and down, chasing that ideal 4°C.

We talked to lots of people, but no one wanted to come up the lake. One suggested replacing the propane regulator. That was a job Wayne could do. But it didn't solve the problem. Wayne created a graph of the fluctuations and called the Unique factory for assistance.


We reached Tim, and he was very responsive, but none of the suggestions helped. We leveled the fridge to make sure the propane would flow properly. We cleaned the flue and burner’s gas jet according to instructions sent via email. Finally, we asked for a local repairman. There was only one, but he worked exclusively on Savary Island. We checked with Rona where we purchased the refrigerator, but all of their certified gas technicians said, “Bring the refrigerator to me.”

Dave from D and M Burner Services in the propane shed adjusting the flow.

John saved the day. He lead us to the perfect gas technician, Dave from D and M Burner Services.

D and M Burner Services
1-8425 Sunshine Coast Highway
Powell River, BC
(604) 487-4516

I highly recommend Dave for any of your gas and propane needs. He’s a great guy, and has years of experience in the business. And most important of all, he willingly met us at the Shinglemill dock and brought his tools and talents to our float cabin up the lake. What a relief.

Dave testing and adjusting the propane flow with the manometer.

On the first trip he tested our propane flow. He used compressed air to flush the line and tested the flow with an expensive digital manometer. This device measures the pressure of the propane in the line so it can be adjusted at the valve. While Dave worked, he talked by cell phone to Tim back at Unique in Ontario. At the end of the day we didn’t know if the problem was solved. Only time would tell. -- Margy