Tuesday, March 04, 2014

Cabin Baking: Extra Sour Sourdough Bread

http://www.amazon.com/SOURDOUGH-JACKS-COOKERY-Other-Things/dp/B000O82CW2In December I made San Francisco Sourdough French Bread. It looked great, but didn't have that signature sour taste. I reviewed my cookbooks and decided to use the directions in Sourdough Jack's Cookery. I found this book in a thrift store several years ago and got it for next to nothing. It's a funky book with sourdough stories and recipes. I tried again in March and was somewhat happy with the results, but this summer I hit the sour "Jack"pot.


Extra Sour Sourdough Bread

The trick was to feed my starter and leave it out for two days to get very lively. Then I made the sponge (the mixture of starter, flour and water) and left it out for an additional day and night (14-36 hours). This recipe makes one large or two small loaves.

1 cup sourdough starter
2 1/2 cups bread flour
1 1/2 cups warm water

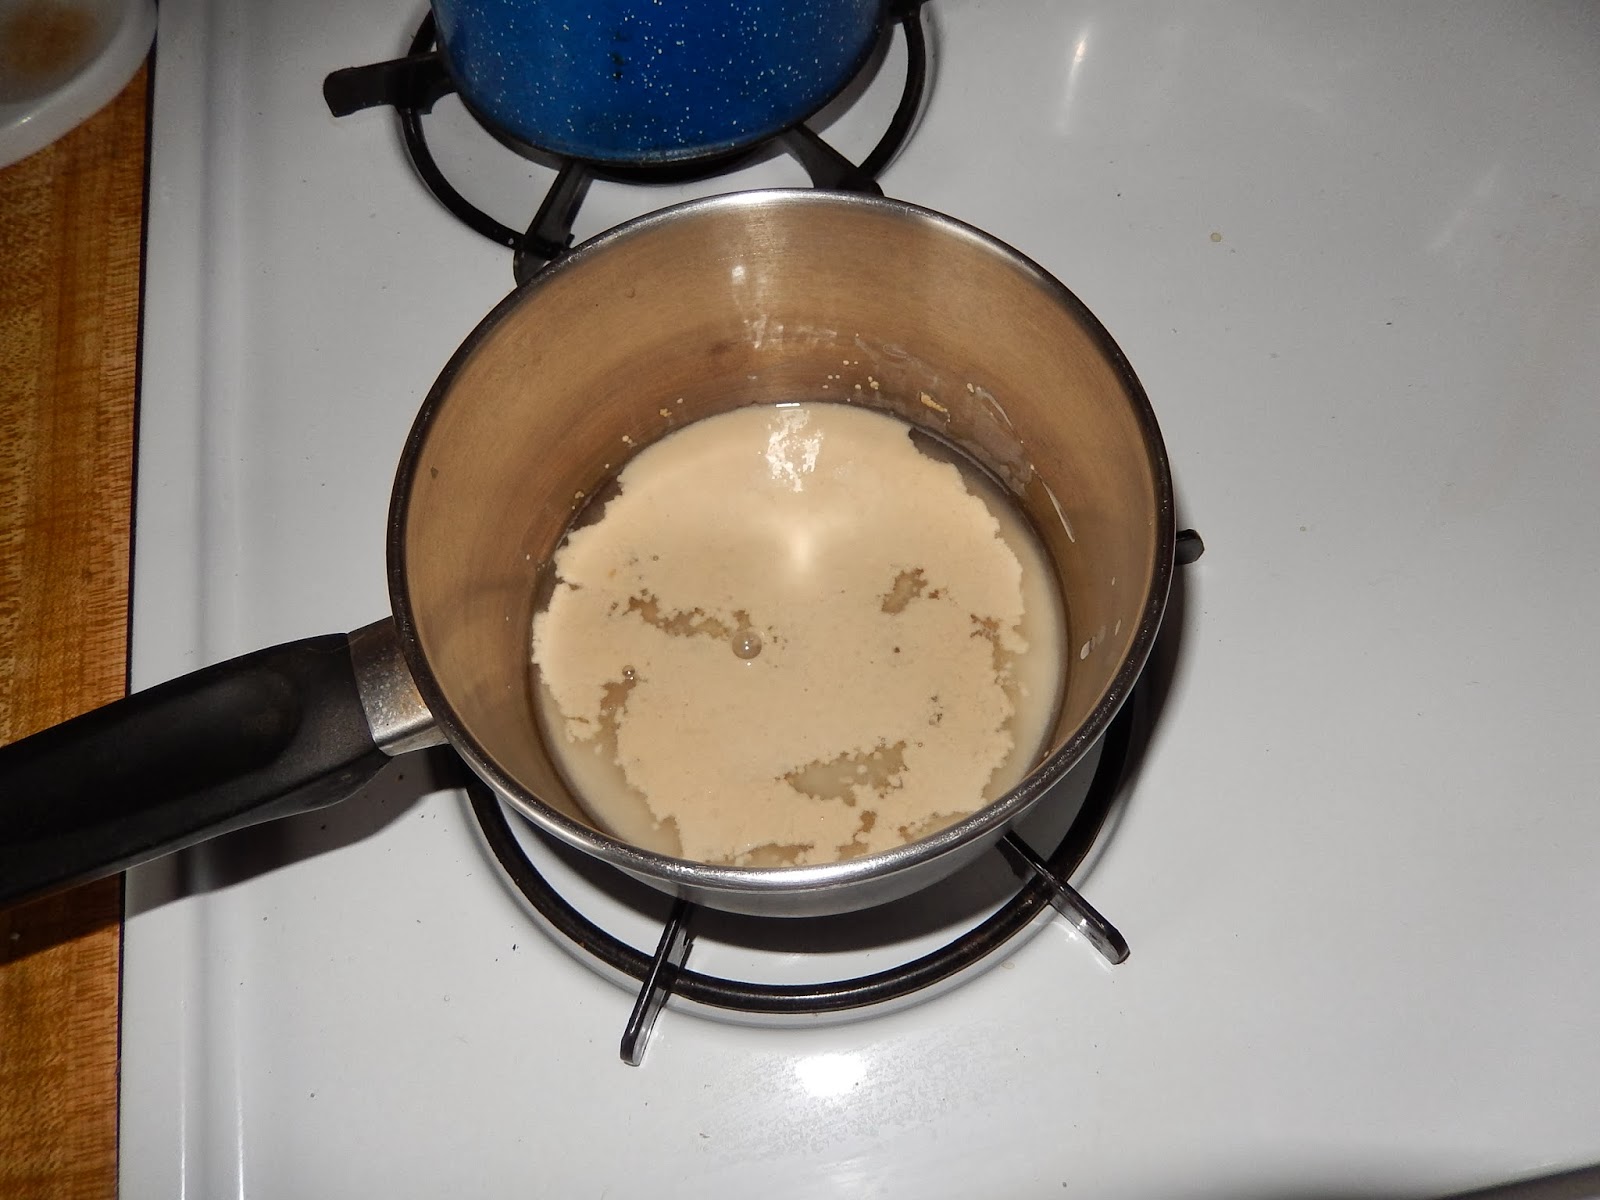
To make the sponge, mix the above ingredients together in a non-reactive (plastic or ceramic) bowl and stir vigorously with a plastic or wooden spoon. Put in a warm place overnight to work and become sour. A longer fermentation time creates the sour flavour.

After your sponge has worked all night to get sour (it will have risen slightly and become bubbly), mix the following dry ingredients together. Sprinkle over the sponge and mix in.

1 teaspoon salt
1/2 teaspoon baking soda
1/2 cup flour

I'm not a purist yet. I use a little extra yeast to help the bread rise. 

1/4 cup warm water
1 package active dry yeast

Put the yeast in warm water (105-115 degrees F) and let sit for 10 minutes to become active.  Stir immediately into the bread mixture. It will still be moist and sticky.

2-3 cups additional bread flour (as needed)

Gradually stir in flour until the dough pulls away from the side of the bowl.  Flour a board and place the dough on top. Sprinkle flour on top and knead for 5-10 minutes, or until it becomes elastic and smooth.

Work in more flour if it's too sticky, but be careful. Too much flour and kneading can make the bread heavy and dry.

Once the kneading is done, place the ball of dough under the bowl and let it rest for 10 minutes. Form into one round loaf, or two smaller bread pan size loaves.

Oil pans and sprinkle with cornmeal. Cover bread pans loosely with a towel and put in a warm place to rise and double in size. Score tops with a sharp knife or razor blade.  Place a shallow pan of hot water on the bottom oven shelf. This will help make a crispy crust. Bake the bread in a hot 400 degree oven for 45 minutes, or until brown.


As usual, Wayne and I couldn't wait. There's nothing like fresh bread out of the oven with lots of butter. And the taste was nice and sour. Now all I need to do is work on getting more holes in my bread. Do you have any tips? -- Margy

Friday, February 28, 2014

Snow Laden Skies

Last time we had snow in Powell River we couldn't stay long enough to enjoy it. This time we got to stay at the cabin through the whole storm.


Storm probably isn't the right word. It was a very gentle dusting, but it lasted for almost two days.


Growing up in Southern California, I didn't get to experience snow unless we went up into the mountains. Being able to sit in my own living room and watch it snow is such a relaxing experience.  Wayne, on the other hand, grew up in Upstate New York. He remembers huge drifts and lots of shoveling. He'll take this kind of snow any day. -- Margy

Wednesday, February 26, 2014

Preserving: Growing Garlic in Containers

I've grown garlic for two years. I don't have much space in my float garden, so I grow garlic in puts. I don't need much to last me for a year, so three small containers are more than enough.

Garlic takes very little attention. Plant cloves with the growth point up, water, feed periodically, dig, dry, and enjoy.

I purchase my garlic sets at the nursery. One small bag goes a long way because you pull the cloves apart and plant each one separately. Ideally, you plant the closes seven inches apart for lots of growth room. As you can see, I use smaller spacing in the pots. The bulbs don't grow as big, but are plenty large for cooking.

 When the tops start to brown, wilt, and fall over, it's time to pull the bulbs out of the soil. If the weather is dry, I leave them on the surface to dry. After the surface of the bulbs have dried, I brush off as much of the dirt as possible, tie the tops of half a dozen together, and hang them in a protected spot outdoors.

This starts the preserving process. I leave them outdoors until the skin on the bulbs is dry and flaky. I trim the tops shorter and hang the bundles in the cabin's storage room. By this time there's no odour, and they're handy to grab for cooking.

If you live in an apartment with a balcony, or a home with limited garden space, you can still grow garlic and have plenty left over to share with friends and family. -- Margy

Saturday, February 22, 2014

Ducky and Daddles

Hey Ducky, look over there. That looks like the tree we used to hang out under last summer, but now it's a long way from shore. What's up?


What did you say Daddles? I couldn't hear you over all the roaring water out in the middle of the river.

Now I see what you mean Daddles. Let me take a look down here and see if I can figure it out.


Well Daddles, I guess all that rain and snow made our Willamette River home larger, faster, and muddier. That's the parking lots down there.

There's a silver lining Ducky, here comes lunch? Quick, grab that yummy tidbit floating by. -- Margy

Wednesday, February 19, 2014

Cabin Cooking: The Fannie Farmer Cookbook

I've been cooking for as long as I can remember. Mom and Dad both loved to cook and let me have lots of experience in the kitchen.

Dad had his “secret sauce” that could become spaghetti, chili or anything calling for a meat and tomato base. Mom baked and tried lots of exotic recipes from the classes they attended together.

Mom and I inherited our love of cooking from Great Grandpa Johnson who was Chef at the Glendale Sanitarium. The “San” was a health resort of sorts run by the Adventist Church at the turn of the twentieth century. Mom told stories of running up the hill from her grandparent's house to visit Grandpa in the kitchen. He even published Johnson's Vegetarian Cook Book. Here's a copy signed by my Great Aunt Margaret and Great Grandpa Carl Johnson, a Swedish immigrant.

I am more of a dump and pour cook. Most things I prepare don’t involve a recipe, but that doesn’t work well for baking. When we got our float cabin on Powell Lake, I wanted a good, comprehensive cookbook. My choice was The Fannie Farmer Cookbook. It was first published as The Boston Cooking School Cook Book by Fannie Merritt Farmer in 1896. Mine is the 13th Edition by Marion Cunningham and illustrated by Lauren Jarrett (Bantam Books, 1994). It's in paperback and a steal at $7.99 US/$9.99 CAN. There are 1230 pages of all types of recipes, preparation techniques, general directions and measurement equivalents. The illustrations are an excellent resource when trying new preparation techniques. I'm always referring to it whenever I bake or want to try something different.

If you need a good cookbook, I highly recommend The Fannie Farmer Cookbook. You can get it at Coles book store in the Powell River Town Centre Mall. They also carry all of Wayne’s books in the Coastal BC Stories series. -- Margy

Sunday, February 16, 2014

Snowy Reflections

Here's another picture from last week's snow up the lake.


As we leaving the cabin after the storm, we had a chance to enjoy the snow covered scene reflected in the calm lake surface. -- Margy

Saturday, February 15, 2014

Brrr

Where'd the sun go? And what's this cold cap on my head?

Margy said Powell Lake is a great place for a swim, but I'm starting to think she wasn't being completely truthful. -- Margy