Monday, April 13, 2020

Doing Our Part: Staying Safe in Bellingham, WA

A reverse selfie with my new face mask.
If you're a regular visitor to this blog, you may wonder why we aren't posting very often.

Like many Canadians, we were caught away from home while Snowbirding in warmer locales. Starting north we ran into the COVID-19 pandemic.


A city-folk condo with a natural "backyard."
We are isolating in our part-time condo in Bellingham. Border and BC Ferries restrictions make returning home to Powell River difficult.  Wayne and I are healthy, but we don't want to bring anything to our small town with limited medical resources.

When Mom passed, we kept her U.S. condo. Having her sewing machine, ironing board and sewing supplies helped me make face masks to prevent the spread of COVID-19. 

I picked Billettes Baubles Eco Alternatives's video to follow and one about washing them.


Mom here in her Bellingham condo in 2008.
As children, both my mom and dad survived the 1918 Influenza Pandemic in Los Angeles. This account by the University of Michigan Center for the History of Medicine has parallels to our current Pandemic.

Strong mitigation including bans on gatherings, and school and business closures resulted in a lower death rate in Los Angeles than similar cities. And there was controversy about face masks.

To make our face masks, I first laundered the fabric. I cut two 7x9" rectangles from the sheet and one 5X7" of T-shirt knit. The knit took more ironing to keep it flat. The video called for flannel, but I didn't have any and I trimmed wide elastic narrower for my two 7" ear loops. 

1. Cut 7" sheet strip. 2. Then cut 7X9" rectangles. 3-4. Cut 5X7" T-shirt rectangle.

Here are the steps I used to assemble the mask. Watch the video to see it even better.

Stitch a smaller piece in the middle.
  • Pin and sew the 5X7" knit piece in the middle of one7X9" cotton cloth piece. I made my knit piece 5" wide to cover a larger portion of my face.
  • Pin and sew the two 7x9" pieces together leaving an inch and a half opening at the top. Make sure the front sides (if your fabric has a print pattern) are facing each other and the extra stitched on center piece is facing outwards. 
Turn it right side out through the hole.
  • Double stitch one end of elastic in each corner between the two pieces of fabric. Watch the video. It's easier to see than describe. The two elastic strips will create the loops that go behind your ears to keep the mask in place.
    • Trim the corners. Use the hole you left open at the top to turn the mask right side out. Iron the seams flat. Double stitch around the sides of the mask to close the hole and secure the edges.
    Make two horizontal pleats.
    • Create two horizontal pleats and pin in place. These pleats will allow the mask to shape around your nose and chin.
      • Double stitch along the sides of the mask to hold the pleats firmly together.
      • Your mask is ready to wear.

      Stitching the sides to hold the pleats in place.

      This type of mask will not protect you from the coronavirus. They can penetrate even three layers of cloth. However, a mask like this can help reduce spreading the virus if you are infected but asymptomatic. Wearing a face mask cannot replace social distancing. Stay home. If you must go out, always stay at least six feet (two metres) away from others.

      Are you wearing and/or making face masks? What about the people in your community?

      p.s. After I wrote this post (and made my masks) I read an article about preferred fabrics for homemade masks. It said that T-shirt material was less desirable because holes in knits are larger than woven flannel and cotton cloth. If you have these materials available, I would recommend using them instead. Also, this style of mask made with a soft fabric rides close to your nose, making it hard to breathe while walking or exercising. -- Margy 

      Thursday, March 19, 2020

      Exploring Bellingham, Washington

      Euclid Park near Lake Whatcom in Bellingham.
      Wayne and I are practicing social distancing. If we cross the Canadian border to return to Powell River, self-isolation for fourteen days is required.  We don't have COVID-19 symptoms, so we are staying in Bellingham where we can still go out responsibly.

      Life has changed a lot. I order groceries and supplies online from Fred Meyer and pick them up in the parking lot already bagged. We stay away from crowds, but do go out once a day for a drive, to walk or visit an uncrowded park.

      Well maintained and uncrowded trails through a wooded city park.

      While the Coronavirus pandemic is happening and we are staying in Bellingham, I will not be writing new posts for the Powell River Books Blog. There's lots of existing content to enjoy. Use the list in the sidebar to get caught up on your favourite topics.

      We discovered a beautiful beach on Lake Whatcom at the end of a trail.

      I also invite you to join me at the Margy Meanders Blog. I will be sharing some of the places Wayne and I visit here in Bellingham while using social distancing and safe health practices.

      Seeing signs of new spring growth was uplifting, especially right now,

      I highly recommending getting out in nature right now. Our minds and bodies need the soothing respite it offers.  What other things have you been doing to help you cope at this difficult time? - Margy

      Sunday, February 02, 2020

      "Dancing in Gumboots" Edited by Lou Allison and Jane Wilde

      Have you wondered about what life would be like if you had taken a different path in your youth?

      Books like Gumboot Girls and now Dancing in Gumboots make me think? Both are anthologies of memoir vignettes by women who moved to Coastal BC in the 60s and 70s. Their stories are opposite to my choice.

      I followed my conventional upbringing until I retired. It was then I followed my heart and moved to live off the grid in Coastal BC.

      Dancing in Gumboots: Adventure, Love and Resilience - Women of the Comox Valley (Caitlin Press, 2018), edited by Lou Allison and Jane Wilde, follows in the footsteps of Gumboot Girls.

      Dancing in Gumboots shares the lives of 32 women who followed their hearts and dreams in the 70s to Vancouver Island's Comox Valley and the nearby Gulf Islands.
      We spent the summer together on the boat, exploring the islands and bays and sailing the straits of Barkley Sound. Brenda Dempsey in "Beyond the Valley"
      There is a safe way to be awakened: hook up with another like-minded soul. Josephine Peyton in "Quest for Community"
      We gathered oysters, dug for clams and fished. Parksman Pete ran the campground and, from time to time, he'd give us odd jobs to help stretch the dollars. Monika Terfloth in "I Took the Scenic Routes "
      Friday was mail day, and all the cabin dwellers came into town for supplies and to get together with friends at the Likely Hotel. Gwen Sproule in "Home is Where the Heart Is"
      After every spring season, we set up another camp, this time at the Courtenay Fairgrounds, where we staffed the kitchen for the annual Renaissance Fair. Cara Tilston in "Finding Home"
      Many of the youthful arrivals to the Comox Valley have remained in their adopted community. You can read more about these amazing women at their Gumboot Girls Facebook page.

      Powell River and Lund also had an influx of adventurous young people during the 60s and 70s. Here are some of their stories.

      The Eden Express is a memoir by Mark Vonnegut, the son of famous author Kurt Vonnegut. Mark purchased vacant rural farmland near Powell River that became a haven for people who wanted to get back to the land and live a simple life. It later became Fiddlehead Farm, a hostel for like-minded people.

      In The Way Home, Terry Faubert tells her story about coming to Lund, north of Powell River, and building a home for herself and her son. It wasn't easy for a single mom. I was honoured to be asked to help during the editing process of this memoir by a friend from the Powell River Gardening Club.

      Adult Child of Hippies was the story of Willow Yamauchi growing up in Lund, a magnet for young people during the hippie and draft dodger movement.  Willow became a CBC Radio producer and interviewed me for about my float garden. The book is full of pictures from that period of time.

      The End of the Road was a film recently produced by a Powell River area local Tai Uhlmann about the Lund counter-culture era.


      We saw its premier at our local historic Patricia Theatre.

      Did you come of age during the 60s and 70s? How did you approach those years? Did you maintain a conventional lifestyle or participate in the counter-culture movement? No matter which you chose, would you have done anything different then or now? -- Margy

      Saturday, January 18, 2020

      Float Cabin Deck Replacement Part 1

      Spring 2018 before pressure washing.
      My last post was about major maintenance and improvement projects we've done at the float cabin over the last two decades. I left off our most recent one so you can see it in perspective.

      Just like any home, it's only as good as the foundation.

      After removing the stain aging was evident.
      Over the last 22 years, time and weather have taken their toll.

      Periodically, we've replaced individual boards and a few supports to extend the life of our foundation and deck, but in 2019 it was evident that we needed to do much more.

      Our float cabin's raft during construction.
      But first, a little history. Our cabin floats on a lashed together raft of 40-foot cedar logs. Cedar is durable and buoyant. Floats do get waterlogged, but adding plastic barrels underneath gives increased flotation. The best news, our cedar logs are in good shape.

      Crosswise logs and steel cables secure the float logs together. On top, pony walls of vertical then horizontal 2x4s are nailed into the cross-member logs. This provides a level platform for the cabin and deck.

      The pony walls are then added to the float log foundation.

      Vertical 2X6" boards are nailed on top of the pony walls. Throughout this process, everything is double-checked to make sure it's level.

      To support the deck boards, vertical 2x6s are nailed on top of the pony walls.

      Yellow cedar is best for decking. Next is old growth red cedar. Last is second growth cedar. Most of our foundation was yellow cedar, but a few spots included second growth wood.

      A second growth cedar log on top was replaced with an old growth cedar beam.

      Our good friend John (and cabin's builder) replaced our deck. When he took off the old boards, he discovered several supports that needed replacing. In particular, a second growth log was rotten. He chose to replace all 40-feet with milled 6X6" beams.

      Here are some related cabin construction posts:

      Float construction
      Extra Flotation Power
      Pumped
      Log Burning for Dry Rot
      Cable Up - Anchoring System

      In Part 2 I'll tell more about the deck replacement process. -- Margy

      Thursday, January 16, 2020

      Float Cabin Deck Replacement Part 2

      Cedar boards heading up the lake.
      This is the second post about replacing the cedar deck at our float cabin. In the previous post, I gave you a little history about how our good friend John built our cabin's foundation and deck.

      If you missed it, scroll down to the next post.


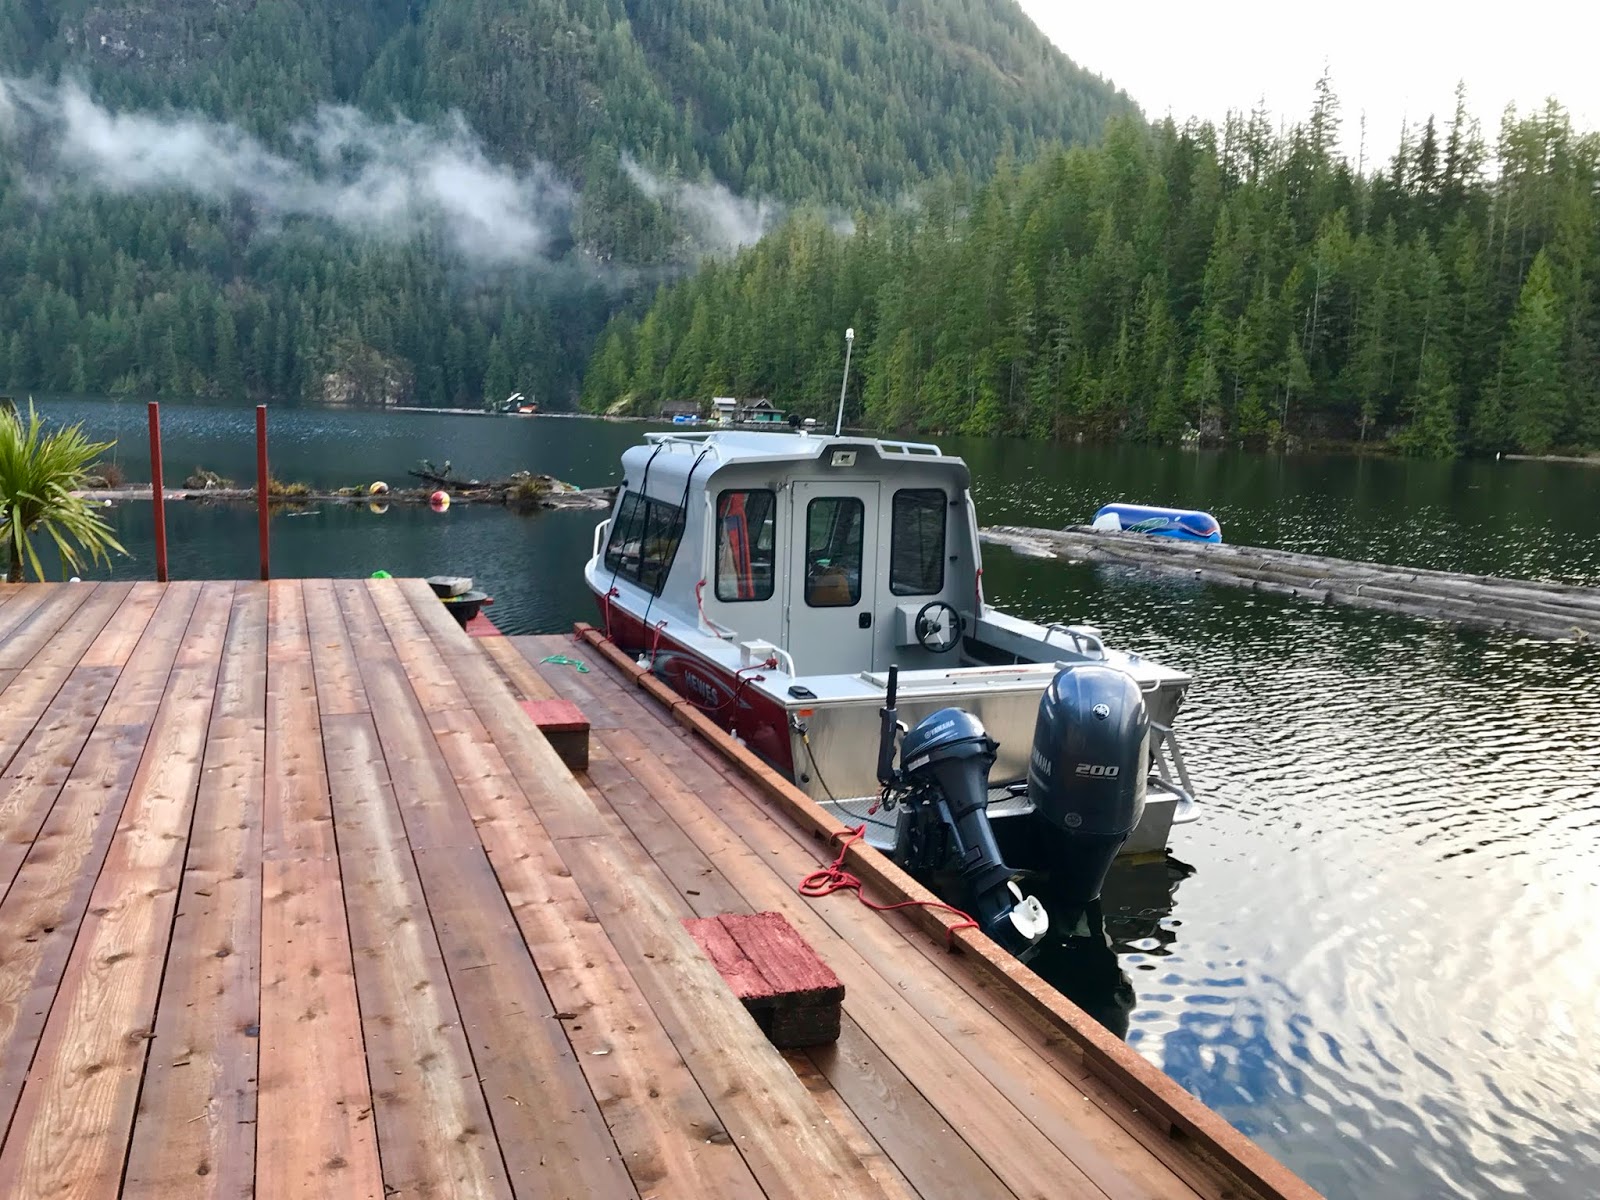
      The Hewescraft is a great work boat.
      John did the whole project for us. He arranged for old growth cedar boards to be cut to specification. The largest load went up on our barge.

      Extras went up on our Hewescraft. Both of these are great work boats.


      To give John the time and space needed to work, we coordinated it with our Snowbird RV Adventure to the States.

      John repaired the foundation pony walls before replacing the deck boards.

      John replaced the cabin's deck a section at a time. Work went from October through December. We were able to get up to the cabin during construction to check on things and enjoy our off-the-grid home.

      The cabin front deck, half old and half new. Can you see the difference?

      Here are the results. I love the look and smell of fresh cedar lumber.

      The side deck and boat dock looking towards Goat Island .

      The rear side deck and dock. John added a bull rail to secure our boats with ropes.

      The side and front deck.

      The front deck looking towards the transition float to shore.

      Waste not, want not. John cut up the old deck boards to become future firewood. What wouldn't fit into the floating woodshed remains on our cedar log work float.

      Cut up deck boards stored on our cedar log work float.

      Old deck boards cut up and stored in our floating wood shed.

      Now we are set for another 22 years at the least. Who knows how long we can live up the lake, but if we are able, the sturdy deck and foundation repairs will support us. -- Margy

      Tuesday, December 31, 2019

      5 Favourite 2019 Powell River Books Blog Posts

      Each year I enjoy sharing blog posts from throughout the year that were favourites with my readers. Here are the top 5 for 2019 in order. Click the titles to read the complete posts.


      1. 5 Acres and a Dream by Leigh Tate:  I enjoy reading books written by people, especially women, who homestead or live off the grid. Leigh's homesteading book was both engaging and helpful at the same time. And I continue to follow her blog.
      5 Acres and a Dream: The Blog link.

      Related post: Becoming Wild by Nikki Van Schyndel who also participated on the History Channel's Alone: The Arctic this year,


      2. Back Up the Lake:  In late March we finally got back to our float cabin home after a two month stay down in the States for our Rental RV Road Trip and an extended period in Bellingham. Coming home is always such a wonderful feeling.

      Our Powell Lake float cabin home.

      Related post: Remembering a Fierce Winter Storm recounts the story of a massive storm during my first solo visit to the float cabin in 2001.


      3. Spring Garden Update: After an additional six weeks in the States, we got home in late May. There was just enough time to prepare my floating garden and containers on the cabin deck for planting.

      Preparing the floating garden for late spring planting.

      Related post: Renewed Raised Bed Floating Garden tells how John replaced rotting cedar sides and decking to refurbish my garden float.


      4. Coastal BC Plants - Indian Pipe: As I discover new and interesting British Columbia plants, fungi, insects, animals and birds, I write about them on my blog. Click the links to see the posts.


      Related post: Cabin Journal: Beds, Bugs and Birds. I also write and draw illustrations in my cabin journals.


      5. Summer Cruising Part II:  Last summer we went out in our Bayliner 2452 on the chuck (ocean) several times. The Strait of Georgia is a very popular cruising spot and it's right on our doorstep.

      Halcyon Days at sunset with the Refuge Cove store in the background.

      Related post: Annual Boat Maintenance at Valley Marine to get our boat ready for winter storage.


      2019 was a very good year for us. We hope yours was as well. -- Wayne and Margy

      Sunday, December 22, 2019

      A Family Christmas Tradition: Norwegian Yule Kaga

      Grandma was born in Norway. Her family immigrated to the States when she was a little girl. There's very little of my Norwegian heritage left except a few Christmas foods. One  is Yule Kaga. It translates as Christmas cake, but it's bread.


      Grandma made it every Christmas, then it was Mom's turn. Now it's mine.

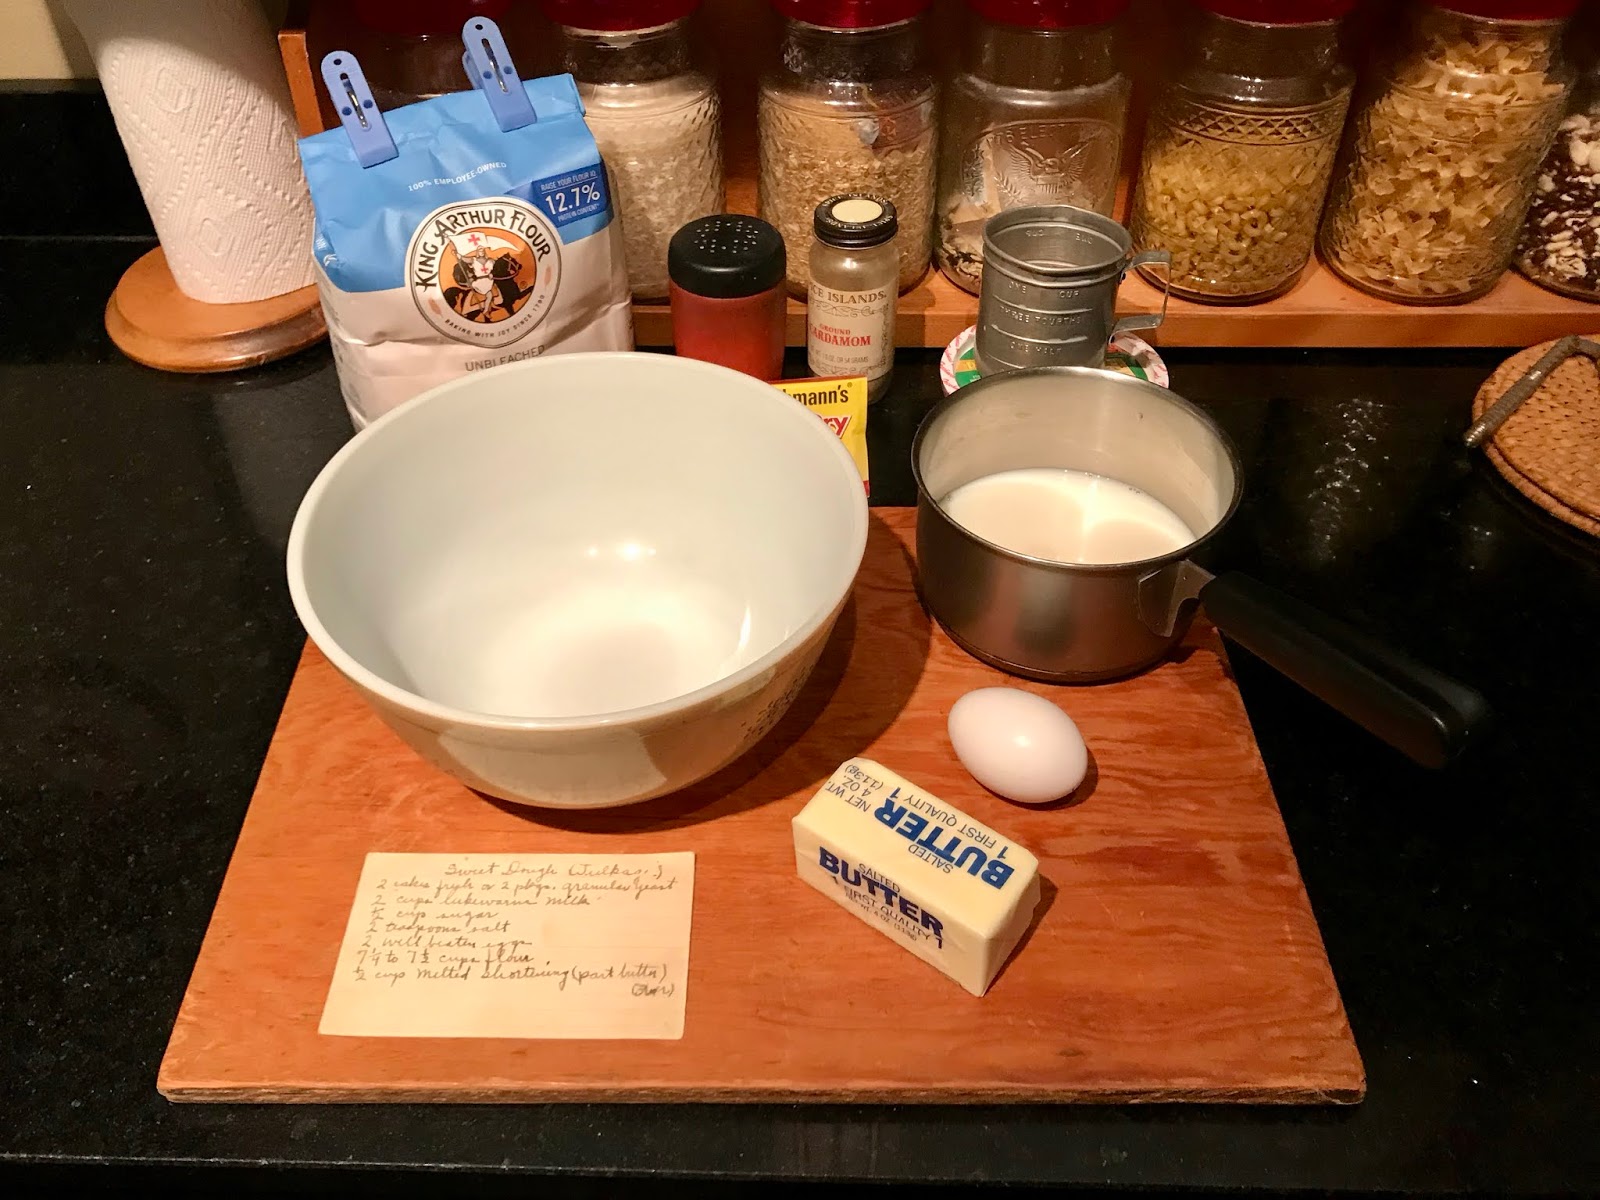
      Mom's recipe file had two cards, one in Grandma's handwriting and one in Mom's. Using them I created a recipe for a single loaf.


      Norwegian Yule Kaga


      Scald milk then add butter and sugar.
      Ingredients:

      1 cup milk (scalded)
      1/4 cup butter (melted)
      1/4 cup sugar
      1 pkg active dry yeast
      3 tablespoons lukewarm water
      1 egg (beaten)
      3 1/2 cups flour
      1 teaspoon salt
      1/2 cup raisins
      Activate yeast in warm water.
      1/2 cup citron
      1/2 teaspoon ground cardamon

      Directions:

      Scald the milk. I had to look this up. Bring the milk to almost boiling then allow it to cool slightly. Add the butter, sugar, salt and cardamom and let the mixture continue to cool until
      Add egg and yeast to cooled milk.
      lukewarm.

      Dissolve the yeast in lukewarm water (100-110 degrees). If the water is too cold, the yeast won't activate. If it is too hot, the yeast will be killed. Stir occasionally. The yeast gets bubbly, releasing carbon dioxide gas, the stuff you need to make bread rise.
      Beat mixture then add half of the flour.

      When the milk mixture is cooled, add the dissolved yeast followed by the well beaten egg. Beat the whole mixture until everything is fully incorporated and smooth.

      Then add 1 1/2 cups of the flour. Beat thoroughly. I used a wire whisk but this could be done with an electric mixer.
      Mix in the raisins and citron.

      Add the raisins and citron and blend together while the dough is still in a liquid form.

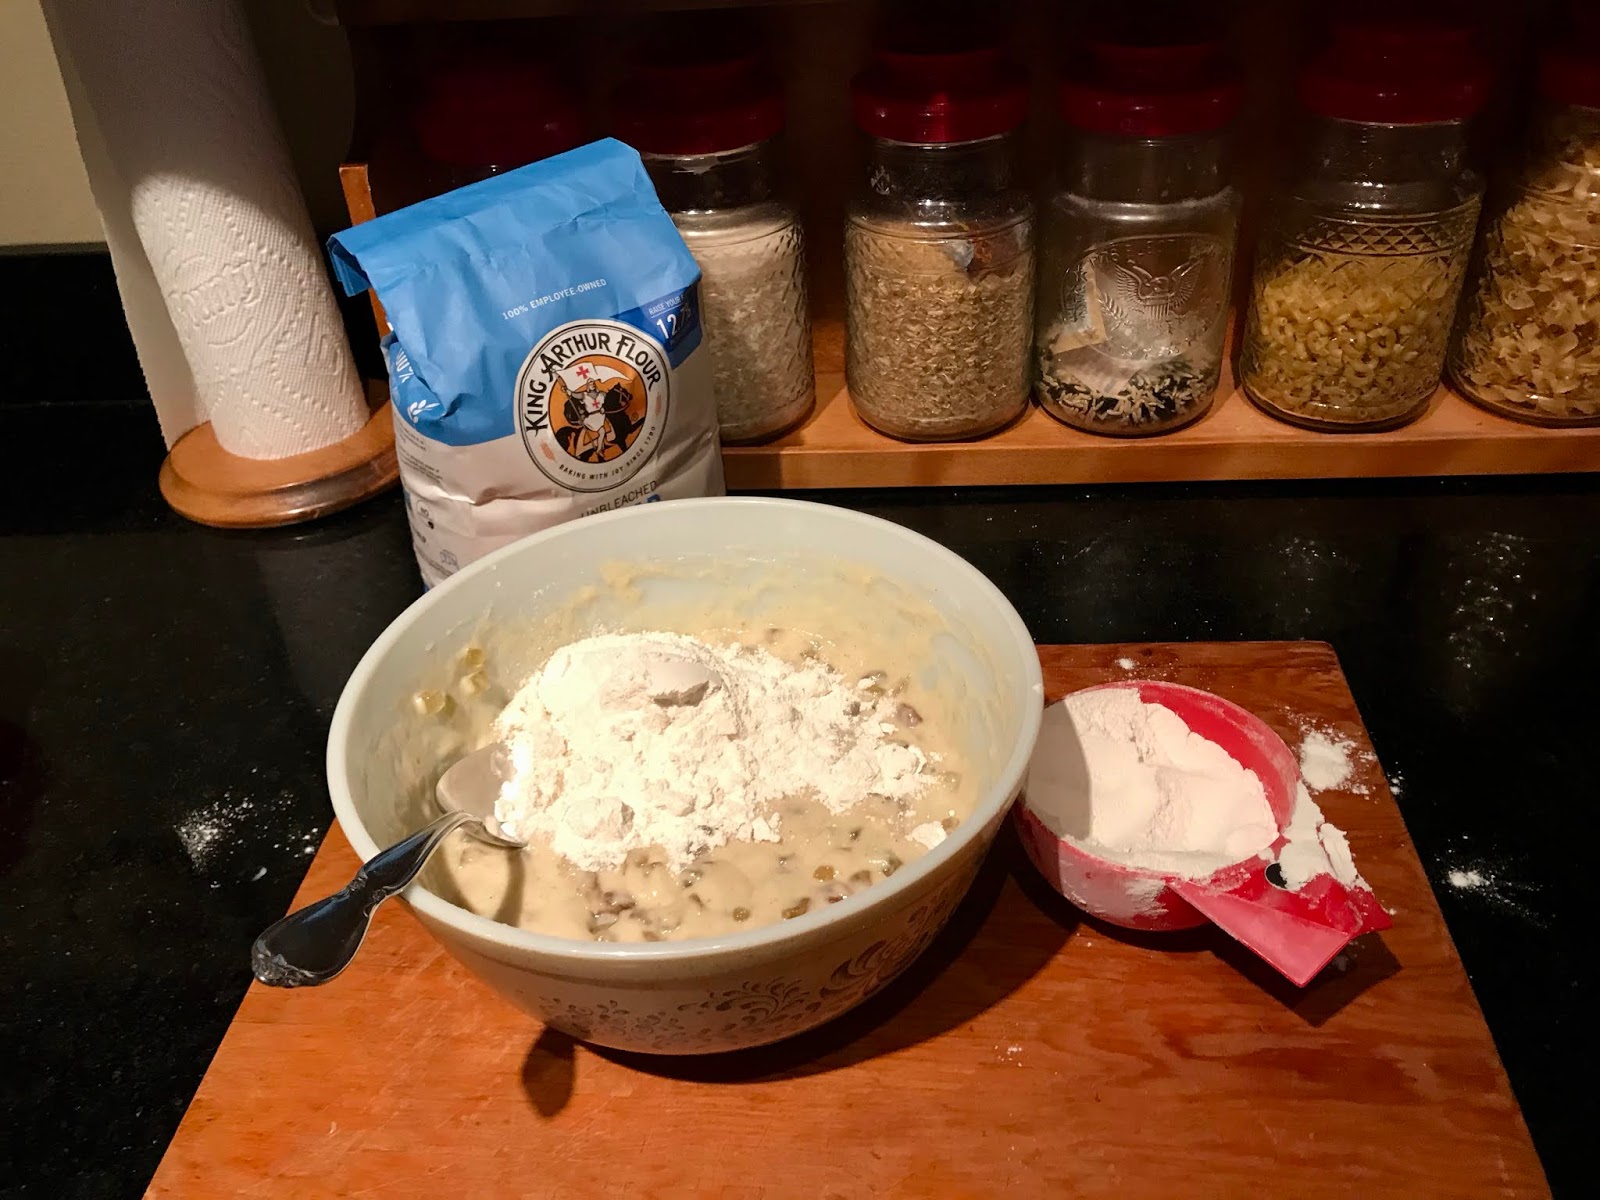
      Add the remaining flour a little at a time. At this point I switched from the whisk to a large wooden spoon. At the end, it was easier to mix the last of the dry flour in with my hands.
      Add remaining flour slowly.

      Turn the dough out onto a floured board. Knead for 8-10 minutes until the dough becomes smooth and elastic. Work in any citron and raisins that escaped.

      Place dough in a large greased bowl. I used soft margarine. Roll the dough over in the bowl to get some of the margarine on top of
      Knead on a floured bread board.
      the dough to keep it from drying out. Cover the bowl. I used plastic wrap covered with a tea towel. Grandma's recipe card called for a damp cloth.

      Let the dough rise in a warm place for about two hours, or until double in size. Mine took one and a half hours in front of the fireplace.
      Let the dough rise in a warm place.

      Punch the dough down and form it into a round loaf.

      I used 9-inch cast iron frying pan for my round loaf.  I lined it with parchment paper and moistened the top of the dough with cooking oil spray. Loosely cover. I used plastic wrap again. 

      Form a loaf and let it rise.
      Place the dough in a warm place and let it double in size again (about 45 minutes).

      Bake in a 350 degree oven for 40-50 minutes or until golden brown. Test by tapping the top with your finger. It should have a hollow sound when it's done.

      Remove the bread from its pan
      Bake until golden brown.
      and cool completely on a rack. If you like a crispy crust, store it in a paper bag. If you want a soft crust, store it in an airtight plastic bag. 

      For me, Yule Kage is not complete without gjetost cheese on top. The brand I find in the States is Ski Queen.

      It's a semi-hard cheese made from whey, milk, goat milk and cream.  It has caramel colour, has a unique flavour, and melts in your mouth. It always reminds me of going to Grandma's house for Christmas.

      Cooling and ready to eat.

      I couldn't wait. I cut a slice, toasted it with butter, and topped it with gjetost. Closing my eyes I could feel my family enjoying Christmas and New Years morning with me once again.

      Do you have any traditional holiday foods that make you feel connected to your heritage? -- Margy