Sunday, April 25, 2010

Sumptuous Shrimp Shack

When we are in Bellingham we often drive to Whidbey Island to visit the Naval Base. And as it happens on most road trips, we get hungry. After conducting our business we head north on State Highway 20. Between the Deception Pass State Park and Campbell Lake on Fidalgo Island there's the small but mighty Shrimp Shack.

The full name is Sweet D's Shrimp Shack. It's owned and operated by Dieter and Laurel Drews and has been serving up seafood to hungry locals and visitors since 1973. You can purchase your seafood fresh to take home or have it prepared to order from their takeout window. No longer a seasonal eatery, you can now enjoy their seafood delights all year long.

Fresh seafood choices include shrimp, prawns, crab, lobster, oysters, clams and fish. They also have alligator and elk as unique options. Their takeout menu includes burgers, oyster burgers, seafood baskets and ice cream for dessert. Wayne and I picked the oyster dinner basket with four large fried oysters and fries. We shared one order with a pop to hold us over for the rest of the trip home.

After you place your order at the window, they prepare your food as requested. A loud speaker lets you know when its ready to pick up. Dining is outdoors on picnic tables or inside your vehicle in inclement weather. Either way it's a taste treat you shouldn't miss. -- Margy

Sweet D's Shrimp Shack
6168 Highway 20
Anacortes, WA
360-293-2531
www.shrimpshack.us

Friday, April 23, 2010

Forest Trail

Hike or ride in almost any direction from Powell River and you will be enveloped by the forest.  We live in a coastal rainforest environment where trees grow tall and the undergrowth is lush.

Large second growth trees cover most of the hills and mountains.  You see, we are logging country.   They've been reaching for the sky for almost a hundred years now. Down below it stays cool and moist thanks to an almost complete sky covering, with just enough sun peaking through to make everything grow green and lush.

It's always beautiful whether you look down or up. -- Margy

Thursday, April 22, 2010

Canning: Strawberry Jam

Even though it isn't strawberry season up the lake, it is in sunny Southern California. Our market had quarts of ripe berries on sale for $1.98. I picked up two. One we enjoyed fresh, the other I made into strawberry jam.

I used Certo fruit pectin and the quick cook method. I didn't use all of the fruit called for in the recipe so I cut everything in half. I know you have to be very careful doing that. My jam didn't jell the first time, so I had to reprocess it. I'm not sure if it was because I cooked it too long after the pectin was added or if it just needed more pectin. But after I reprocessed the batch with the remaining half packet of pectin, it it jelled fine. Here is the recipe I ended up with:

Strawberry Jam
(makes about 4 half-pints)

2 cups prepared strawberries (1 qt raw)
4 cups sugar
2 tablespoons lemon juice
1 packet (box) CERTO Fruit Pectin

While I prepared the fruit, I brought water in my canning pot to a boil. To sterilize everything, I put clean half-pint (250ml) jars in the boiling water and the screw bands and lids in a separate pan covered with the boiled water.

To make it easier to mash the berries, I diced them after washing and hulling. Then I used my wire whisk to lightly crush them to get the juices flowing. The berries went into a large cooking pot along with the sugar. I brought them to a rolling boil, stirring constantly over high heat. Next I added the lemon juice followed by the pectin, still stirring.

Once it came back to a rolling boil I cooked it for exactly one minute. At this point, the jam will still be very liquid. I removed it from the heat and let it stand for 5 minutes before skimming the scum that forms on top. It isn't bad for you, it just doesn't look nice.

I got my canning jars out of the hot water and let them drain. They need to be hot for the filling process. I filled the jars to 1/8" from the top and wiped the rims and sides clean. I covered them with the self-sealing snap lids. Then the screw bands went on until finger tight. The jam filled four half pint (250 ml) jars with a little bit extra for the fridge.

All four sealed jars went into the hot water bath covered by 2" of water. After it got back up to a rolling boil (with the lid on) I timed it for 10 minutes. When done, the jars came out of the water bath to cool. I heard the four distinctive snapping sounds as the seals set. Now we have an alternative to the blackberry jam I made last summer.

Speaking of Southern California, they had a "jamming session" down on the Little Homestead in the City. Check out their wonderful blog and website. They have turned a city lot in Pasadena, California, into an urban homestead. As a part of their outreach program they went to a local school to teach students how to make strawberry jam. What a wonderful experience! Head on over to their blog and check it out. -- Margy

Monday, April 19, 2010

Giving Beans and Peas a Head Start

Because of limited space in my floating garden, I grow lots of things in pots on the cabin deck. That's where you'll find my potatoes and tomatoes. Last year I successfully grew Snow Peas in a large pot with a homemade trellis. This year I'm going to move my green beans to a pot as well. That will save garden space for my annual asparagus, strawberries and herbs, and my seasonal carrots, beets, onions, spinach, lettuce, chard and radishes.

I've had problems getting beans and peas to sprout directly in the soil.
This year I decided to try using potting mix in cardboard egg cartons. To give the seeds a head start, I soaked them in water until they started to swell. I put one seed in each egg cup and covered it with soil. I added enough water to cover each section and a little extra in the bottom to soak up into the cardboard cartons.

To give the sprouts a warm moist home, I put the egg carton containers in a plastic tray. The cheapest I found were cat litter pans at about $4 each on sale at Canadian Tire. Four half size egg cartons fit in each tray. Then I cut off the bottoms of gallon milk cartons. Each half egg carton fit snugly under it's own plastic "hothouse."

I started twelve Snow Peas and twelve Scarlet Runner Pole Beans with lovely red flowers and tasty pods. That's more than I need for my two 23" diameter pots, but sometimes not all of my seeds sprout. Just a little extra insurance if you know what I mean. I put the plastic tray of mini-hothouses near the sunny window of our condo. They'll stay there unattended for a week until we can return from a trip the States.

APRIL 19 UPDATE: My little hothouses were too moist. When I returned, only two of the beans had sprouted. The rest moulded. I think it would have been better to give them a little air each day or maybe less water to start with.

I bought a wrought iron trellis at Canadian Tire for $19.99 that fit inside my blue barrel planter (click the picture for a better view). For extra climbing attachments and support, I added two 1X1's and tied a string lattice. Wayne drilled holes in the side of the barrel and secured everything with wire. I transplanted my two bean plants. For the remainder, I put new seeds directly in the soil. Now all I need are a few warm sunny days between the spring showers to get them going. - Margy

Saturday, April 17, 2010

Woodstove Maintenance

Since we use our Kozi woodstove almost 24/7 during the winter, it needs maintenance and cleaning about every two months. We've been good about going on the porch roof and cleaning out the outer section of the pipe, but I'm embarrassed to say that we haven't cleaned the inside section since the beginning of the fire season last fall.

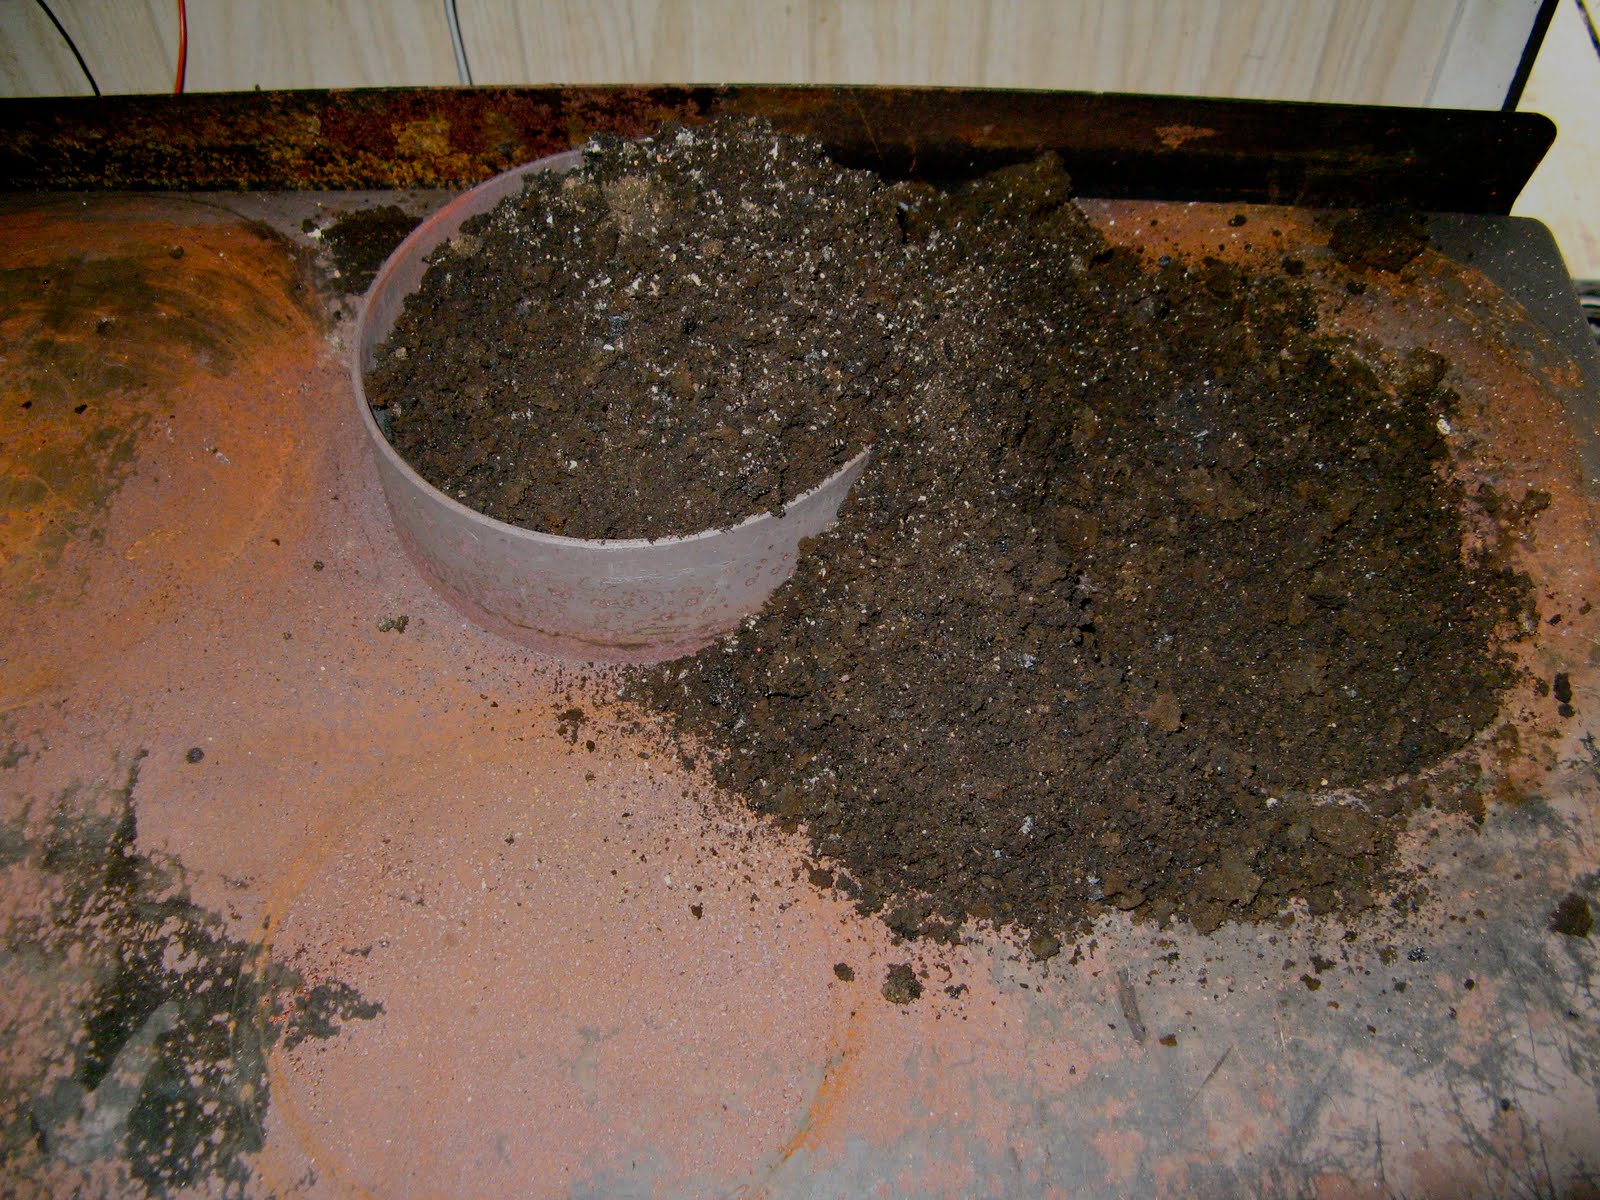
The first hint that creosote is building up in the chimney pipe is smoke coming out of the fire box door when it is opened. So when this happened again last week, we picked a fair day to let the fire die out to do the deed. As you can see in the first picture, tapping the pipe dislodged so much creosote that it filled the smoke shelf and pipe connector.

First we took down the inside pipe and removed the creosote adhering to the inside walls. A little newspaper on the floor helped keep the mess contained. When everything was done, here is what I saw. It seemed like quite a bit, but I guess I shouldn't have been surprised after so much use over the winter and early spring.

Last time we cleaned the pipe we noticed a small amount of smoke coming out through a joint in the pipe near the ceiling. We decided to seal the problematic junction with some Rutland "Seal it Right" to provide a better draft up and out of the chimney. If you would like more information on this subject, I found a good article by The Gas Man at Epinions.com. So far it has remained sealed with no further problems.

Chimney cleaning involves some disassembly both indoors and out, but it doesn't take long and the results provide for safer and more enjoyable fires. Play the video clip below to take a look at ours.


And yes, that is the USC Band playing Tusk (a personal favourite for Wayne) in the background. -- Margy

Friday, April 16, 2010

Fog Rise

Yesterday was warm and sunny, in the evening it rained and overnight it cooled down - prime conditions for a foggy morning.

Sunrise over Goat Island was at about 9:00 a.m. The rays were just visible through the hazy layer.

And then about half an hour later it lifted and headed through first narrows. Here's a quick video of the last tendrils moving south.


Thanks for stopping by. -- Margy

Tuesday, April 13, 2010

Frozen Peas

Well, that's what they looked like to me. On our quad ride to Tony Lake last Saturday I found some very interesting snow, ice or frost formations while I was walking in the forest.

There were lots of little piles of round, peas-shaped ice. I thought maybe it was snow that melted and refroze, or maybe some type of hoar frost.

I tried a Google search and didn't come up with any answers. Do you know what this is called and how it is formed? I'd be very interested in getting some additional information. - Margy