Saturday, January 18, 2020

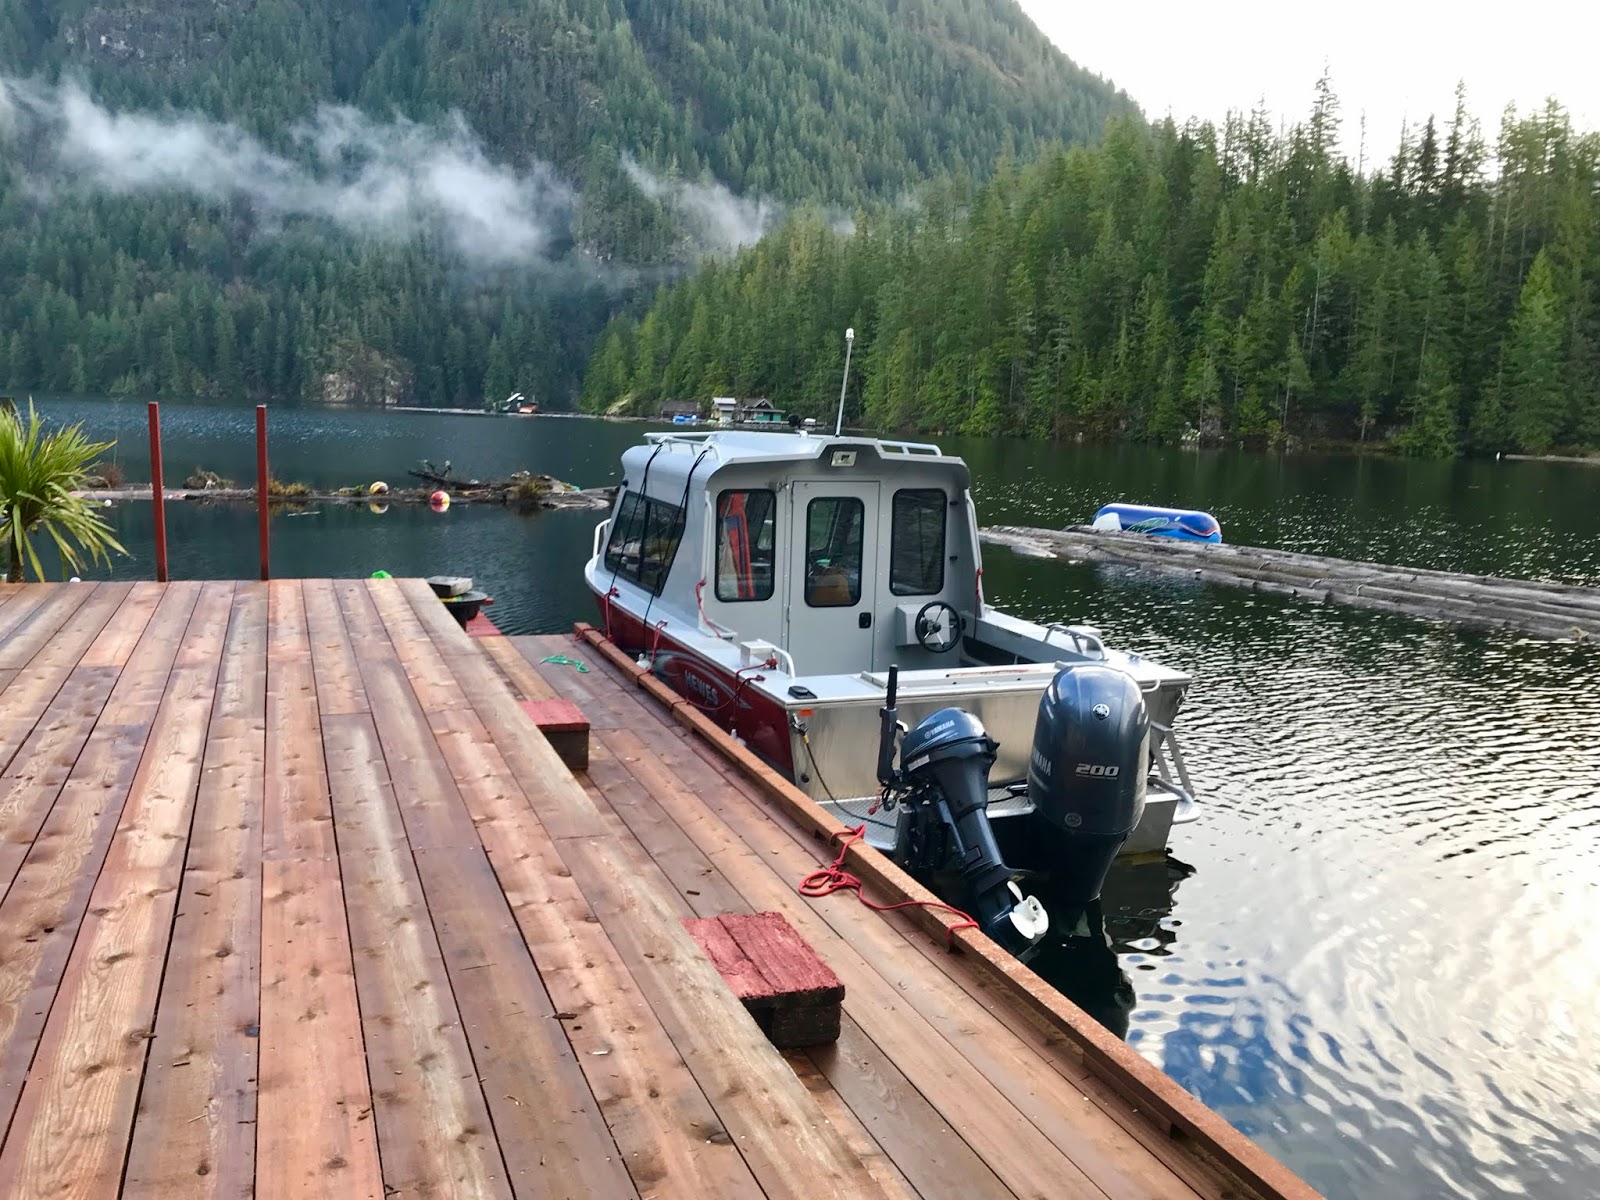
Float Cabin Deck Replacement Part 1

Spring 2018 before pressure washing.
My last post was about major maintenance and improvement projects we've done at the float cabin over the last two decades. I left off our most recent one so you can see it in perspective.

Just like any home, it's only as good as the foundation.

After removing the stain aging was evident.
Over the last 22 years, time and weather have taken their toll.

Periodically, we've replaced individual boards and a few supports to extend the life of our foundation and deck, but in 2019 it was evident that we needed to do much more.

Our float cabin's raft during construction.
But first, a little history. Our cabin floats on a lashed together raft of 40-foot cedar logs. Cedar is durable and buoyant. Floats do get waterlogged, but adding plastic barrels underneath gives increased flotation. The best news, our cedar logs are in good shape.

Crosswise logs and steel cables secure the float logs together. On top, pony walls of vertical then horizontal 2x4s are nailed into the cross-member logs. This provides a level platform for the cabin and deck.

The pony walls are then added to the float log foundation.

Vertical 2X6" boards are nailed on top of the pony walls. Throughout this process, everything is double-checked to make sure it's level.

To support the deck boards, vertical 2x6s are nailed on top of the pony walls.

Yellow cedar is best for decking. Next is old growth red cedar. Last is second growth cedar. Most of our foundation was yellow cedar, but a few spots included second growth wood.

A second growth cedar log on top was replaced with an old growth cedar beam.

Our good friend John (and cabin's builder) replaced our deck. When he took off the old boards, he discovered several supports that needed replacing. In particular, a second growth log was rotten. He chose to replace all 40-feet with milled 6X6" beams.

Here are some related cabin construction posts:

Float construction
Extra Flotation Power
Pumped
Log Burning for Dry Rot
Cable Up - Anchoring System

In Part 2 I'll tell more about the deck replacement process. -- Margy

Thursday, January 16, 2020

Float Cabin Deck Replacement Part 2

Cedar boards heading up the lake.
This is the second post about replacing the cedar deck at our float cabin. In the previous post, I gave you a little history about how our good friend John built our cabin's foundation and deck.

If you missed it, scroll down to the next post.


The Hewescraft is a great work boat.
John did the whole project for us. He arranged for old growth cedar boards to be cut to specification. The largest load went up on our barge.

Extras went up on our Hewescraft. Both of these are great work boats.


To give John the time and space needed to work, we coordinated it with our Snowbird RV Adventure to the States.

John repaired the foundation pony walls before replacing the deck boards.

John replaced the cabin's deck a section at a time. Work went from October through December. We were able to get up to the cabin during construction to check on things and enjoy our off-the-grid home.

The cabin front deck, half old and half new. Can you see the difference?

Here are the results. I love the look and smell of fresh cedar lumber.

The side deck and boat dock looking towards Goat Island .

The rear side deck and dock. John added a bull rail to secure our boats with ropes.

The side and front deck.

The front deck looking towards the transition float to shore.

Waste not, want not. John cut up the old deck boards to become future firewood. What wouldn't fit into the floating woodshed remains on our cedar log work float.

Cut up deck boards stored on our cedar log work float.

Old deck boards cut up and stored in our floating wood shed.

Now we are set for another 22 years at the least. Who knows how long we can live up the lake, but if we are able, the sturdy deck and foundation repairs will support us. -- Margy