Growing and Preserving Garlic
 |
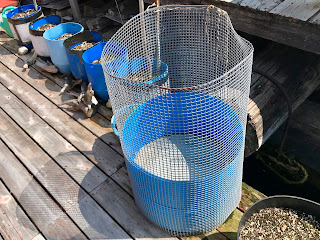
| At first I grew garlic in containers. |
I've grown garlic for years. In the beginning, it was in small containers. I got plenty, but the bulbs were on the small side.
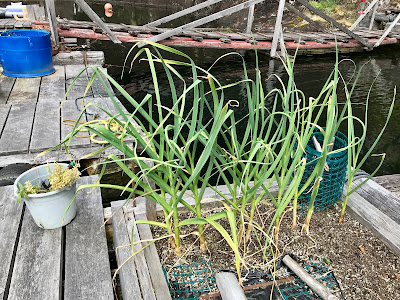
Now I grow it in my float garden. Garlic takes little attention. Plant cloves with the point up, mulch, water, feed periodically, dig, dry, and enjoy.
I purchase garlic bulbs good for my climate at the nursery. I also save my best bulbs for future planting. A few bulbs go a long way. You separate the cloves and plant them seven inches apart. I plant in fall, mulch through winter and harvest in early summer.
 |
| Flower and garlic bulbs (in the front) sprouting in early March. |
When the tops wilt, brown, and fall over, it's time to pull the bulbs.
 |
| Tulips have died back and garlic approaching maturity. |
If the weather is sunny and warm, I leave them on the cabin deck to dry.
 |
| Garlic drying on the deck on a sunny summer day. |
After the surface of the bulbs has dried, I brush off any dirt and tie the tops of several together for hanging. Nothing goes to waste. I saved the trimmings for garden mulch.
 |
| Processing garlic for storage: Trimming and tying in bundles. |
I hang them in a protected spot outdoors to continue drying. This starts the preserving process.
 |
| Garlic hanging to dry in the floating woodshed. |
I leave them outdoors until the skin on the bulbs is dry and flaky. I then hang the bundles in the cabin's storage room. By this time there's no odour, and they're handy to grab for cooking.
 |
| Dried garlic hangs in our storage room ready for use. |
If you live in an apartment with a balcony, or a home with limited garden space, you can grow garlic in a container and have plenty left over to share with friends and family. -- Margy
Shared with Your the Star at Stone Cottage Adventures. And Tuesdays with a Twist at Stone Cottage Adventures.

Visit Simple Life Mom for ideas about homesteading and simple living.
And Sunday Sunshine Blog Hop at Ridge Haven Homestead. Visit Letting Go of the Bay Leaf for more Mosaic Monday.


